Creating a New Expense Report
Go into the expenses app, and click on “Create”.

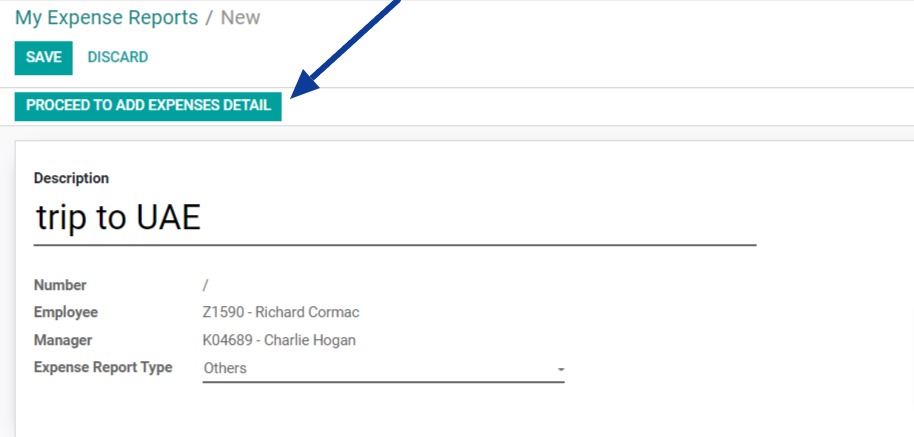
These are the minimal set of fields you must know in order to start creating an expense report in the system. All mandatory fields are highlighted with a bold underline. Start with completing them first, as you cannot save your record without filling them.
There are two mandatory fields:
- Description
- Expense Report Type
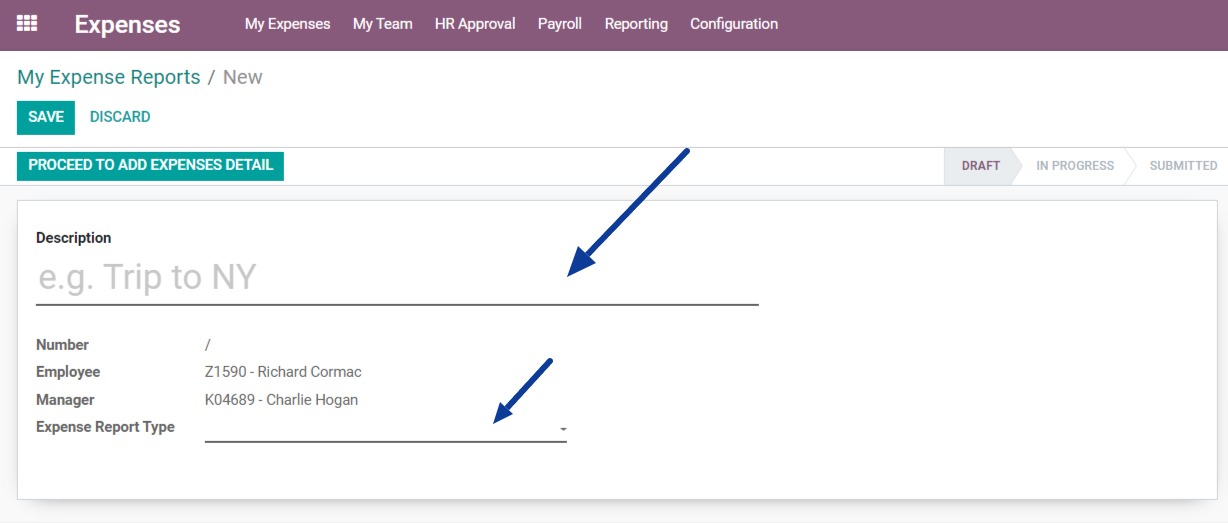
After entering the description and expense report type, click on "Proceed to add expense details”.
Adding Expense Lines
To add your expense details, click on "Add a Line".
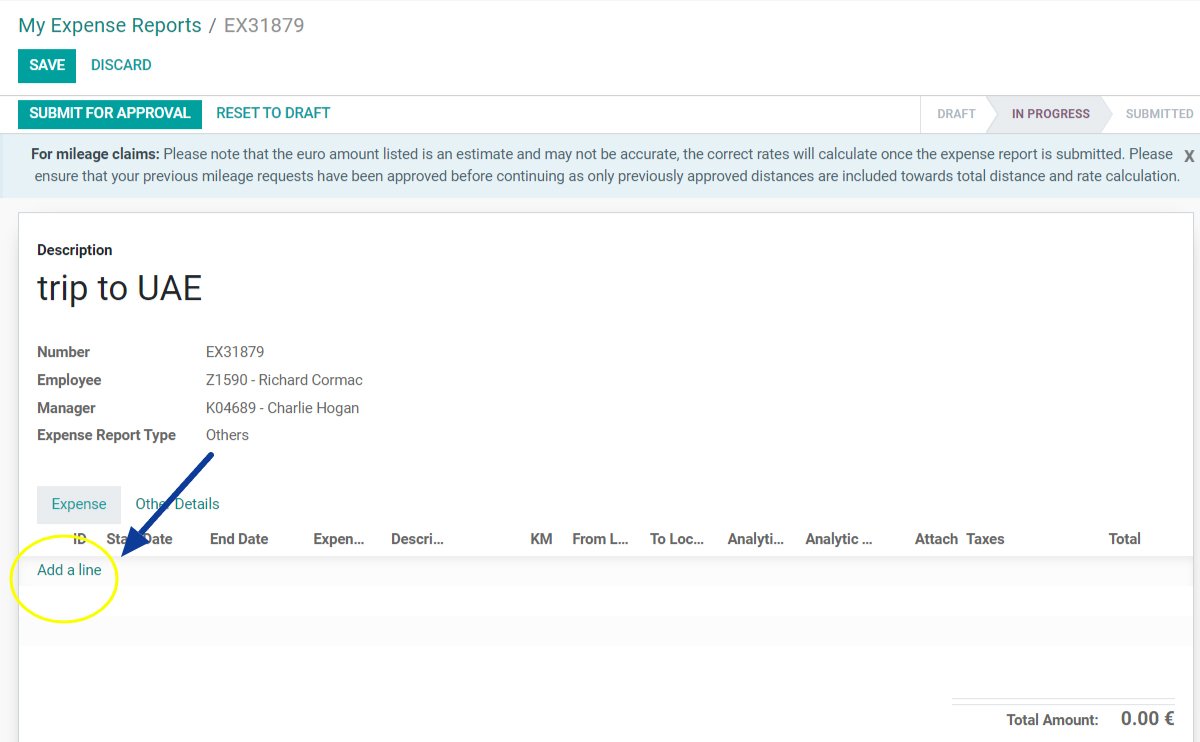
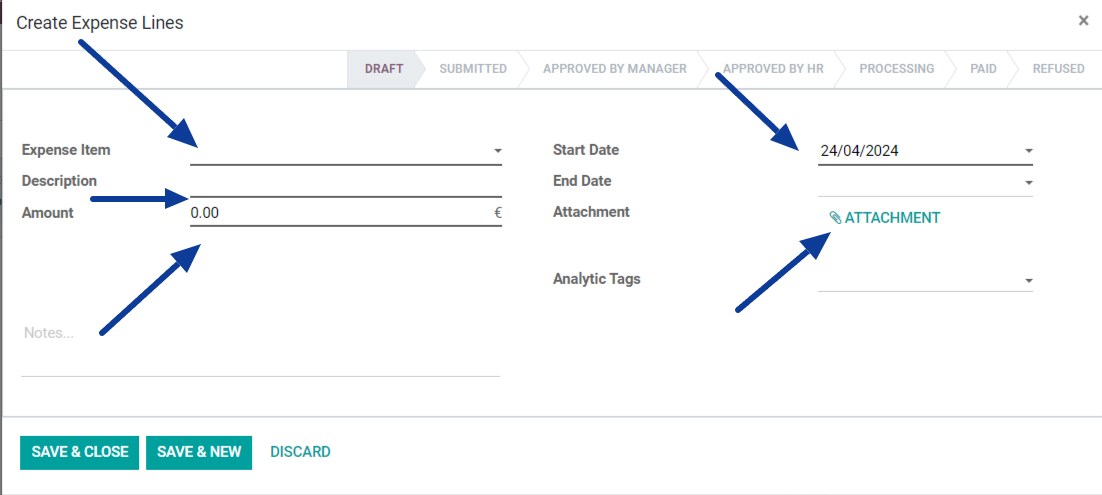
When you click on "Add a Line," a new pop-window appears on the page where you can input all the information related to the expense.
After filling in all the needed information, and attaching the receipt. Click on "Save & Close” or “Save & New” if you want to record multiple expenses.
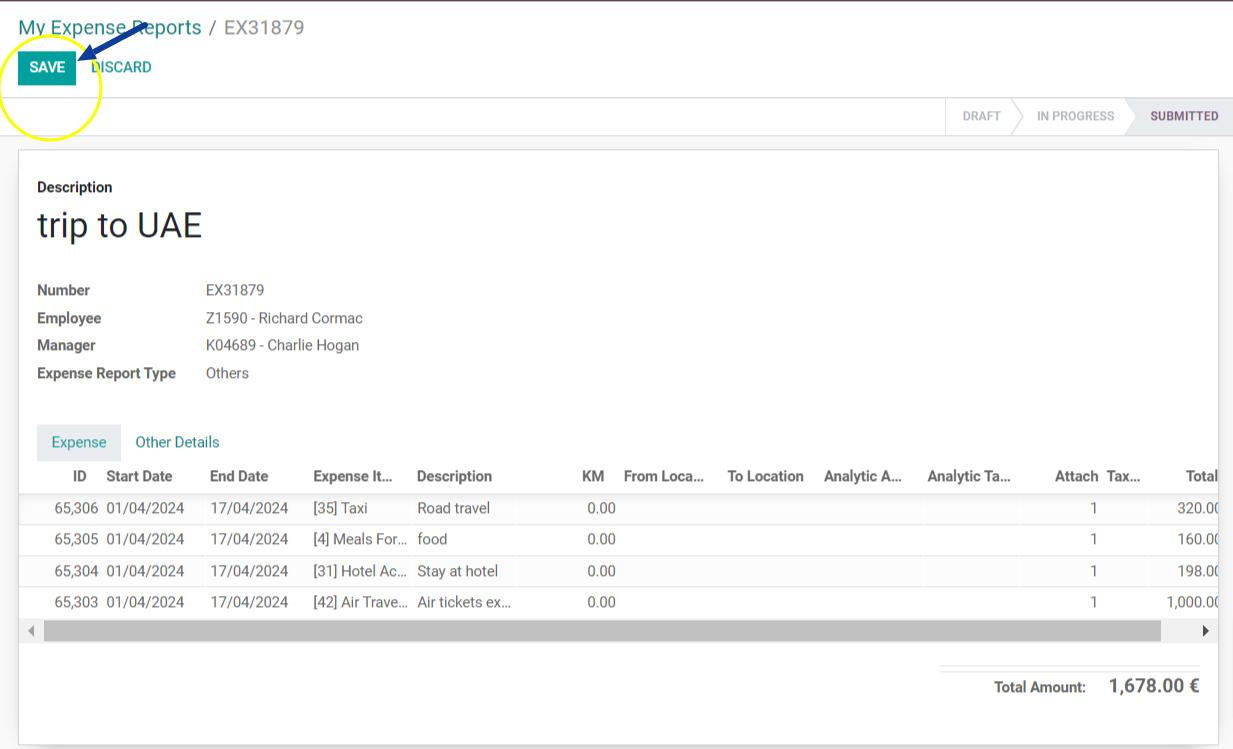
Submitting the Expense Report
Once you have entered all the expense lines, review the report and click on “Submit for Approval”.
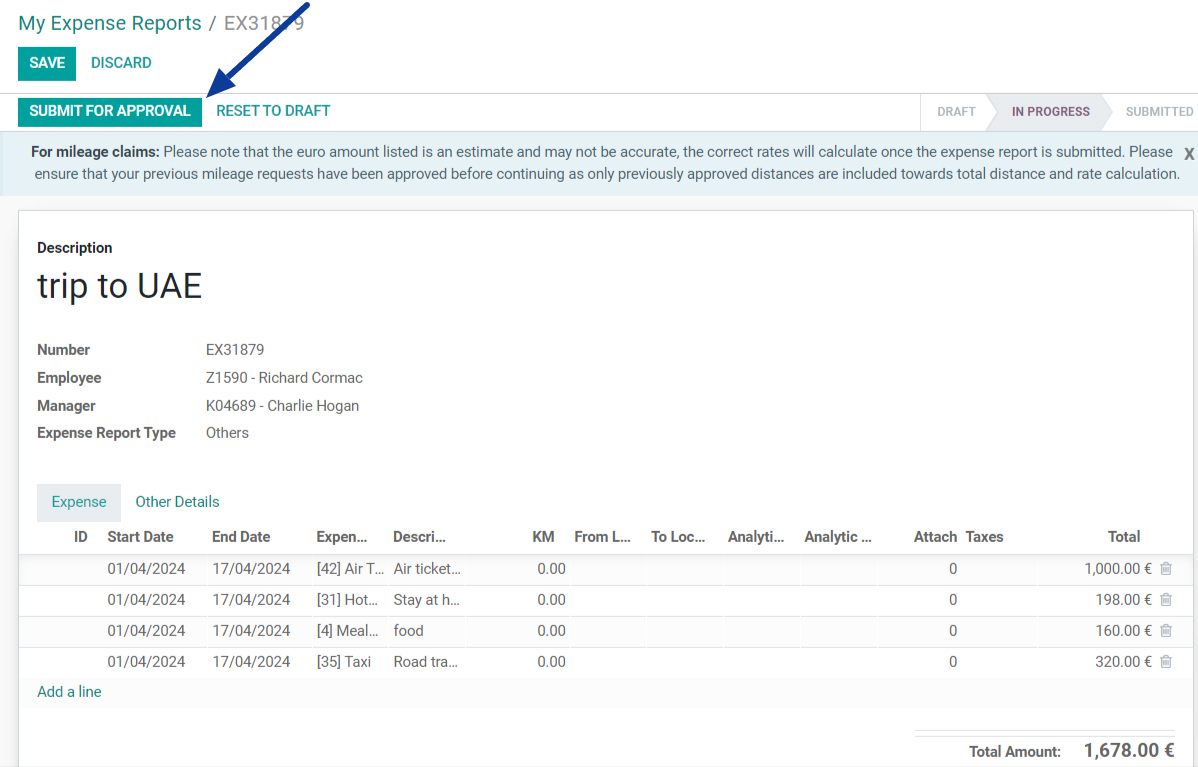
Alternatively, if you don’t want to submit it now, you can “Save” the report and come back later to edit and add more details and submit it.
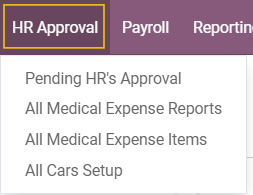
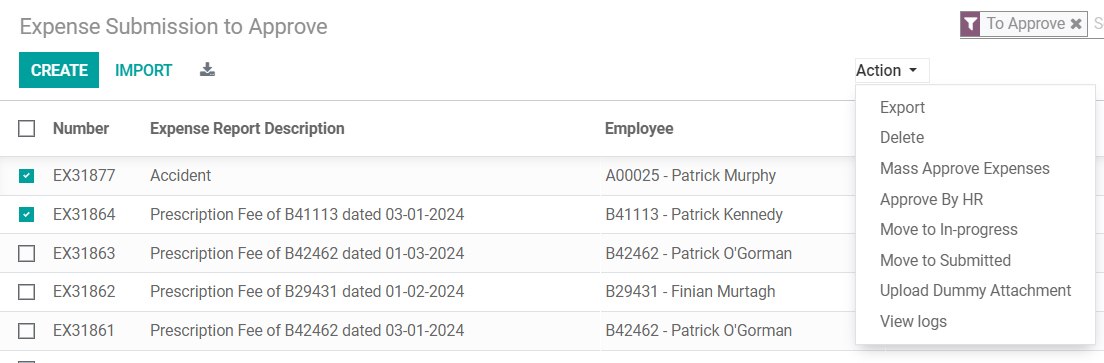
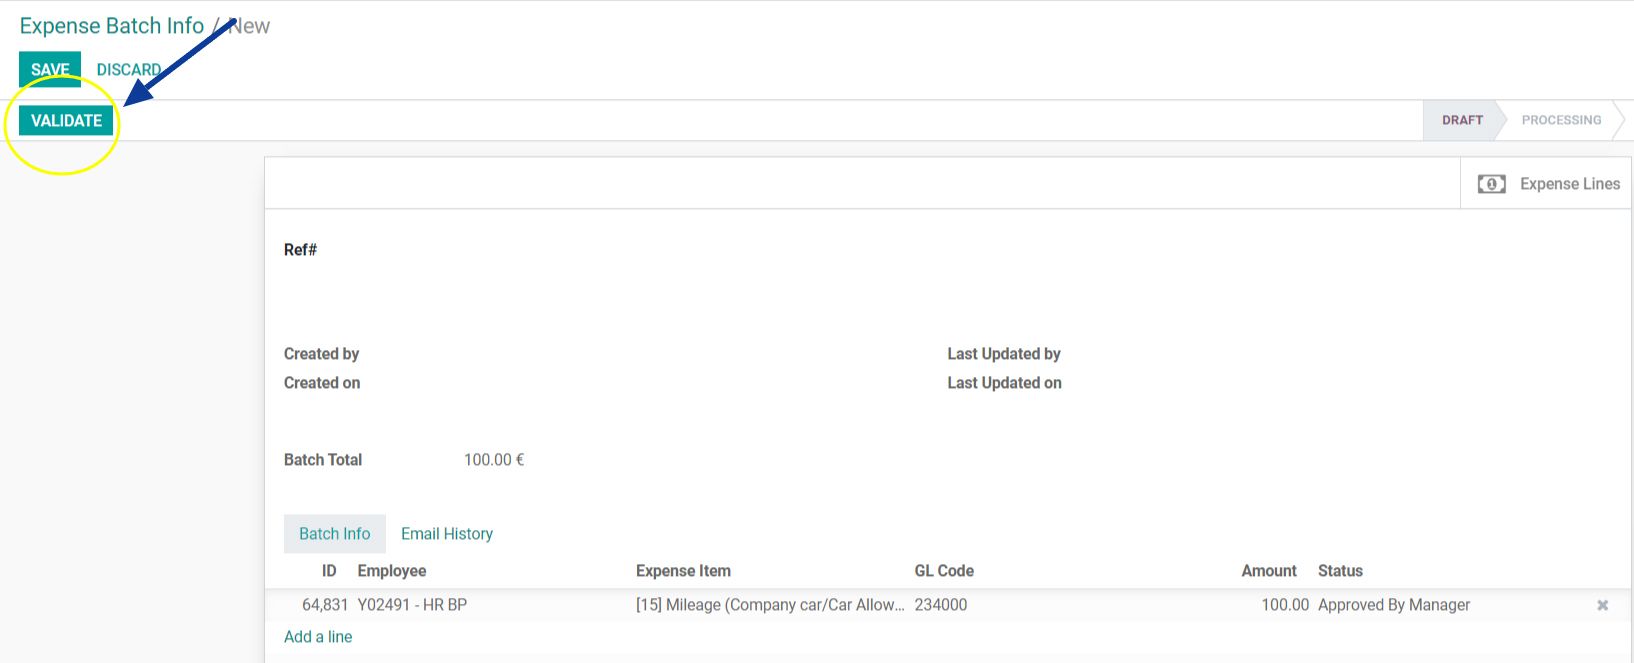
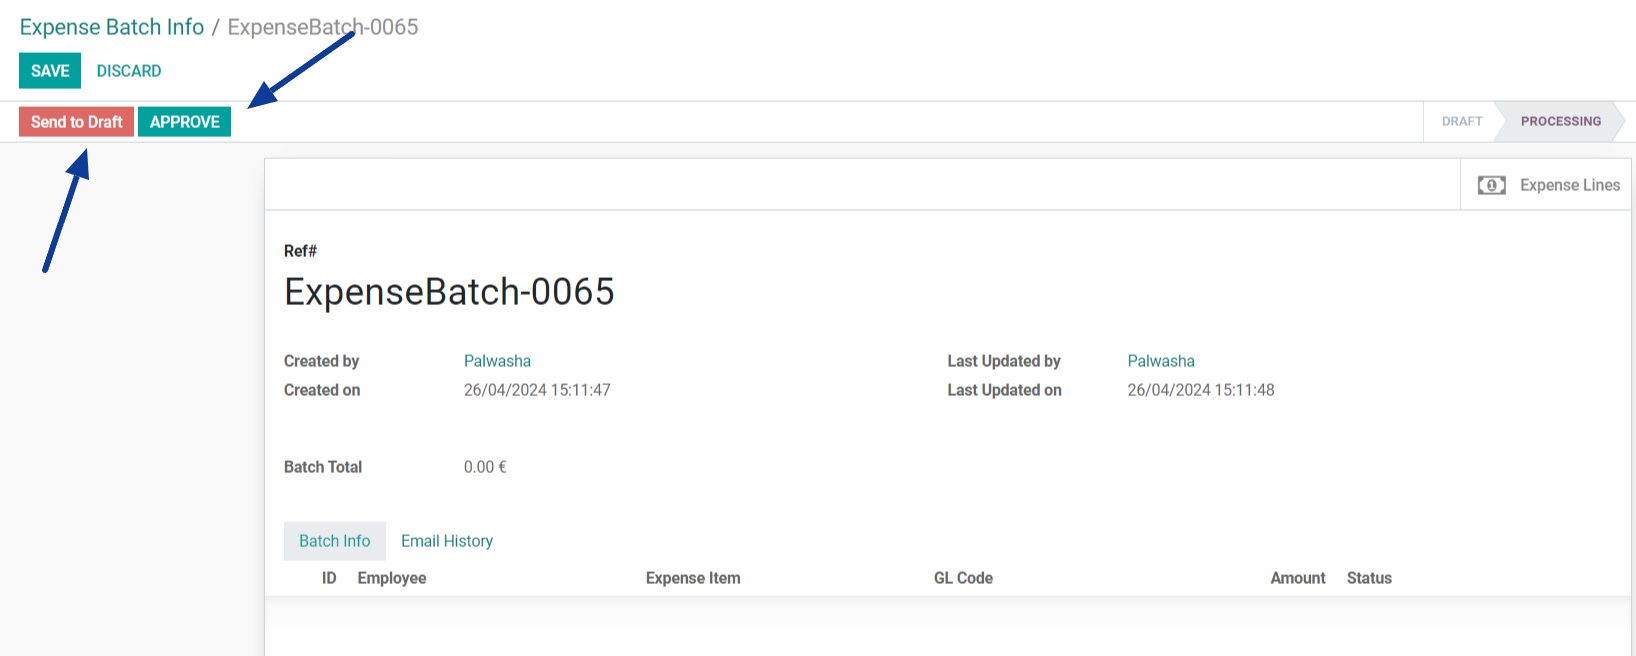
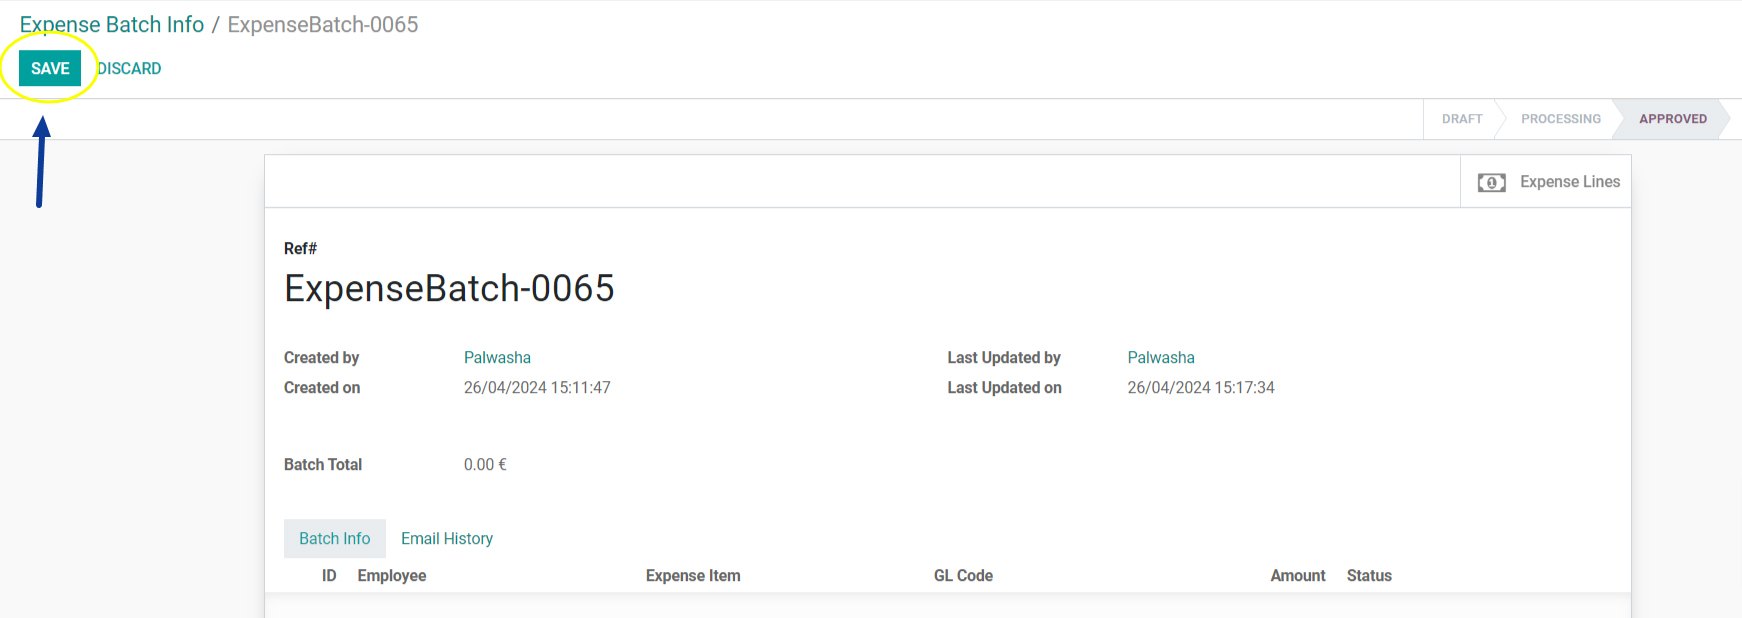
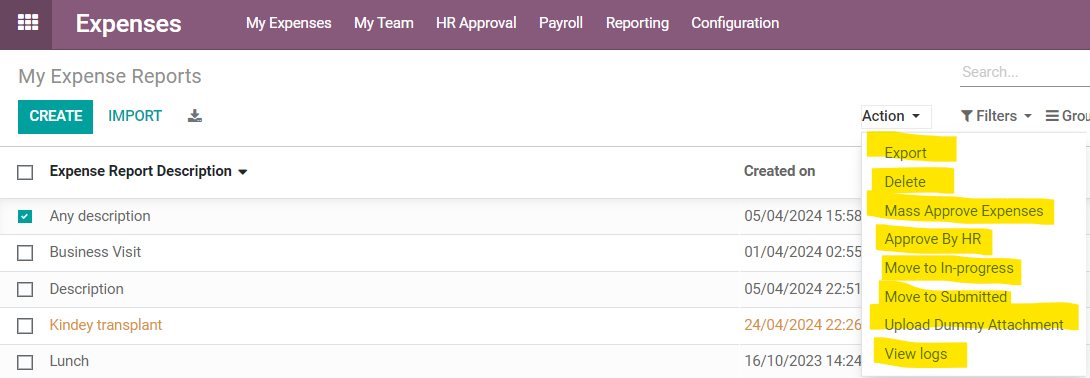
Expense Report Actions Available for HR Users
HR system users can utilise these actions to manage the expense reports in bulk. The list of actions available here depends on your access level.
Setting Up a Car to Claim Mileage
Using this feature, employees can register their private cars to claim mileage. The process is simple. They need to provide their vehicle details, insurance and licence, then submit the request to their manager. Once approved and reviewed by HR. They can start claiming mileage.
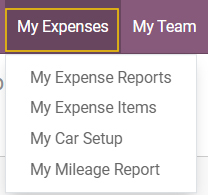
- To access this setting go to Expenses app > My Expenses > My Car Setup
- To create a new car setup, click on “Create”, enter the required details, and upload insurance and licence.
- To edit any existing value, just click on it and click “Edit”, make the change, and then click on “Save”.
- Once you’re ready, click “Submit to Manager”.
- When your request is approved by the manager, it will go to HR for final review.
- You’ll receive a confirmation message when you’re ready to claim mileage.
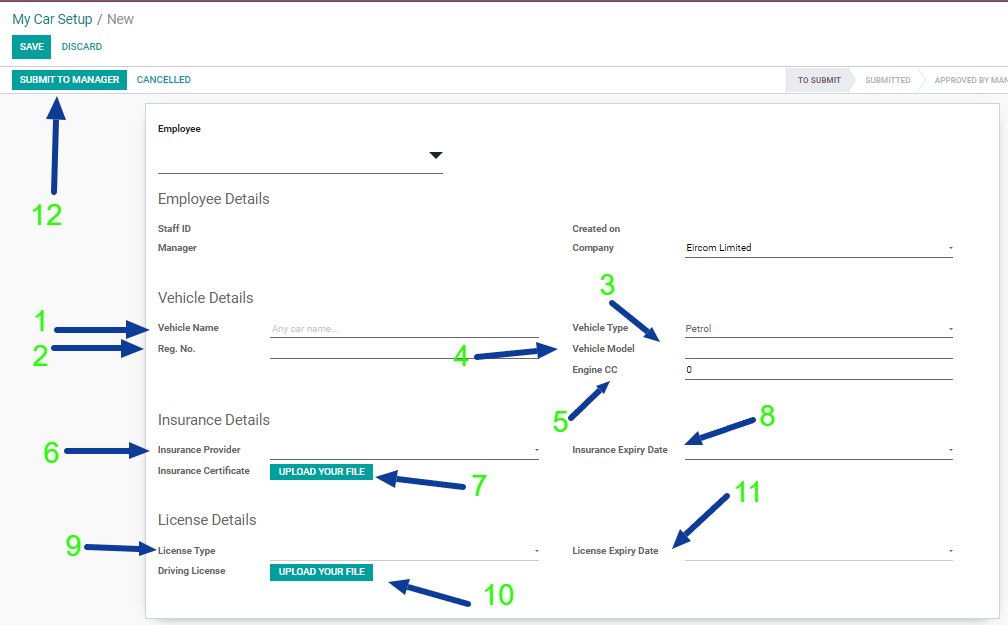
1. Vehicle Name:
Specify the name or make of the vehicle used for business purposes, if applicable.
2. Registration Number:
Enter the vehicle's registration number as per the official documentation.
3. Vehicle Type:
Select the type of vehicle from options such as car, van, truck, etc.
4. Vehicle Model:
Specify the model or year of the vehicle, if known.
5. Engine CC:
Provide the engine displacement in cubic centimetres (CC) as stated in the vehicle's documentation.
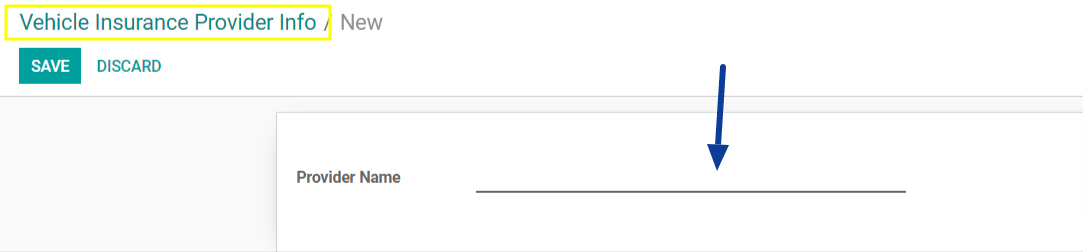
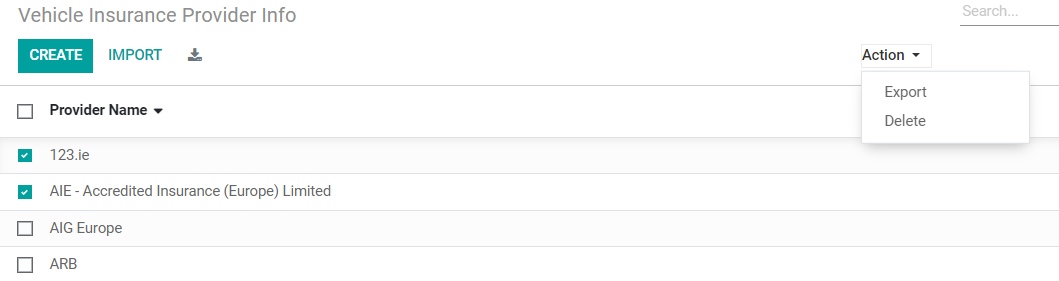
6. Insurance Provider:
Enter the name of the insurance company providing coverage for the vehicle.
7. Attach Certificate:
Upload a scanned copy or image of the insurance certificate for verification purposes.
8. Insurance Expiry Date:
Input the date when the vehicle insurance policy expires.
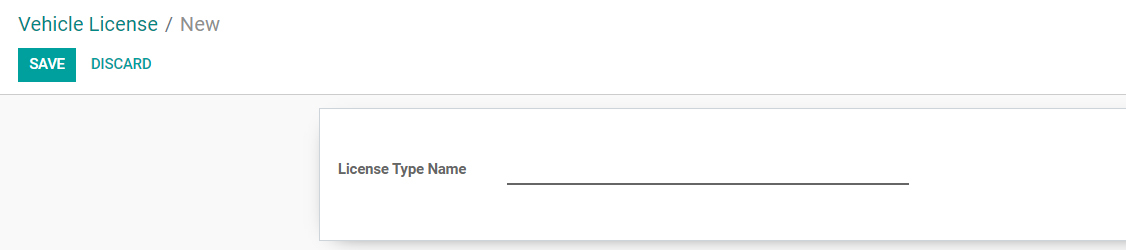
9. Licence Type:
Select the type of driver's licence held.
10. Upload Licence Picture:
Attach a scanned copy or photo of your valid driver's licence.
11. Licence Expiry Date:
Specify the expiration date of your driver's licence.
12. Submit to Manager:
Review all entered information carefully before submitting the expense report to your manager for approval.