What is Milestone-Based Payment?
In many projects, clients prefer to pay in stages as work progresses rather than making full payment upfront. This billing method, known as milestone-based billing, is a win-win for both businesses and clients. For businesses, it ensures a steady cash flow as payments are tied to project progress. For clients, it reduces financial risk by allowing them to pay only for completed phases while fostering transparency and trust between service providers and clients.
How to Set Up Milestone-Based Billing in Odoo
Odoo 18 makes it easy to invoice customers based on project milestones. Once a milestone is reached, an invoice can be generated directly from the sales order. Let’s see how to set this up in Odoo 18.
1. Enable the Milestones Feature
Start by activating the Milestones feature in the Project module. To do this:
- Navigate to the Project Module > Configuration > Settings.
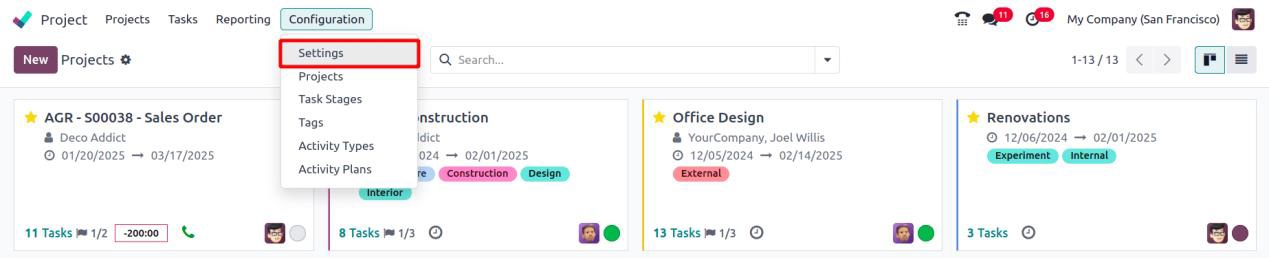
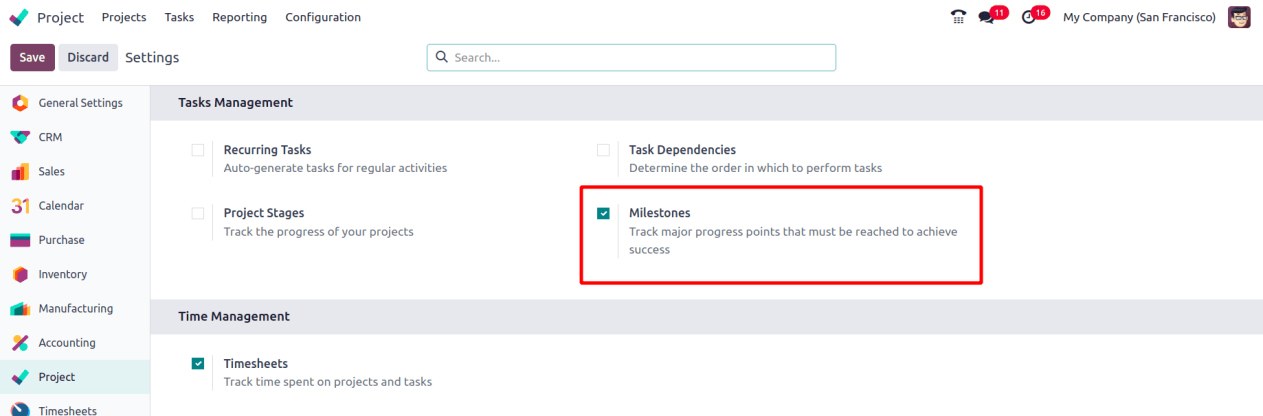
- Under the Task Management section, enable the Milestones feature.
- After enabling it, click the Save button to apply the changes.
Once the Milestones feature is enabled, you can add milestones to the project, allowing billing based on these milestones.
2. Create a Billable Project
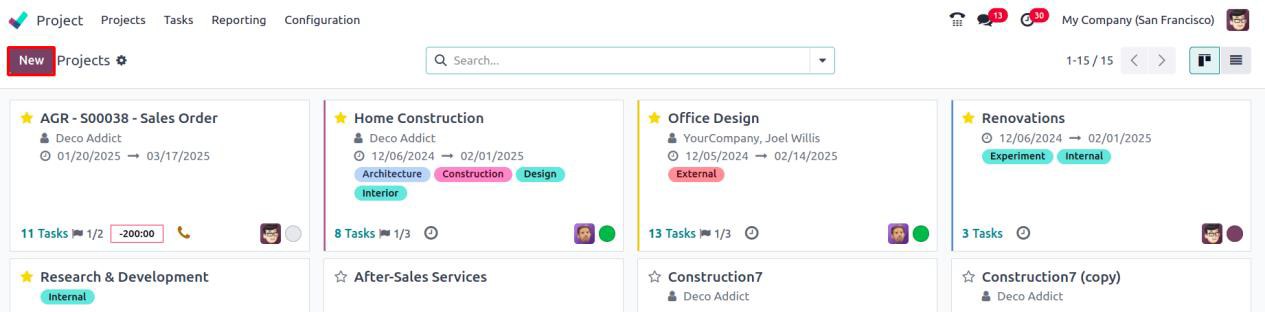
- To create a project, navigate to the Project dashboard and click the New button.
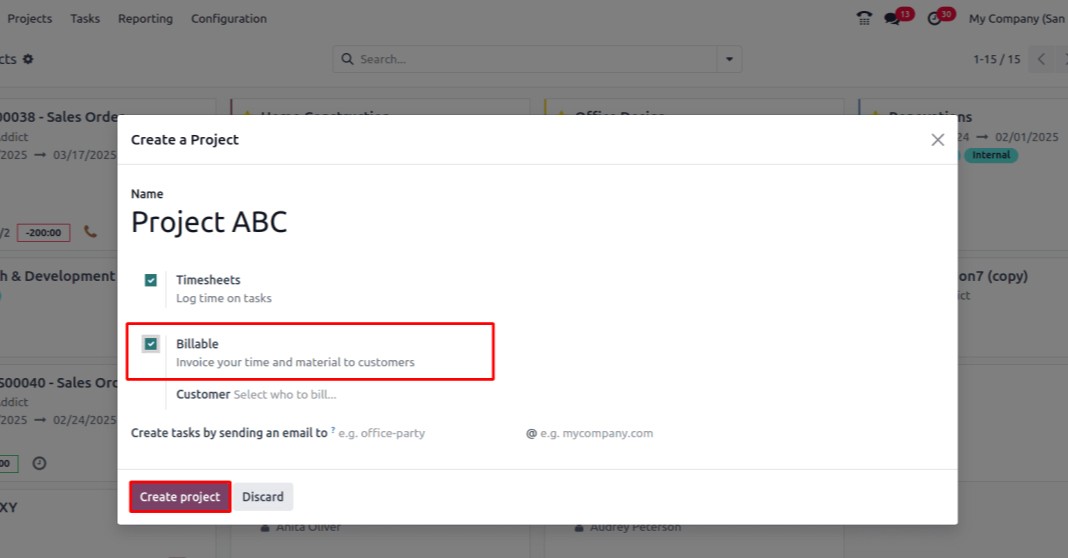
- In the project settings, enable the Billable option to allow milestone-based invoicing.
- Then click the Create Project button to create a new project.
3. Create a Service Product
Now, a service product needs to be created. To do this:
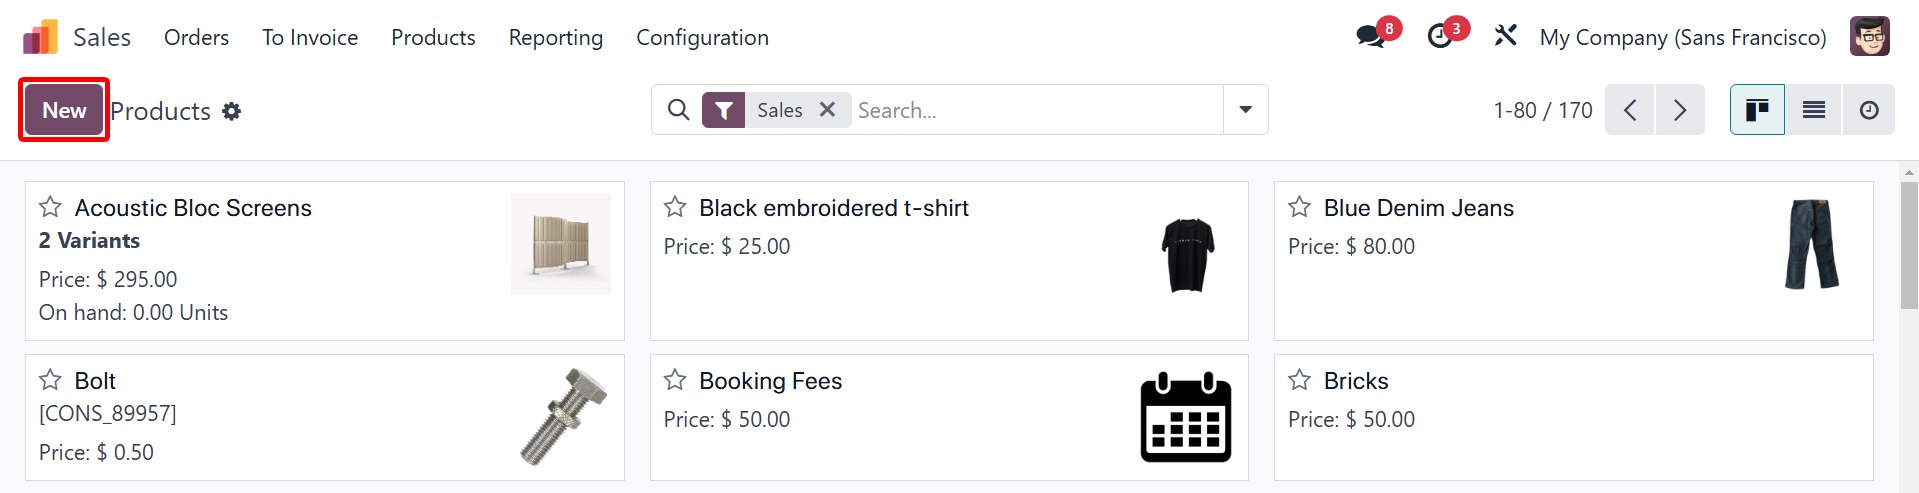
- Navigate to the Sales module > Products > Products, and click the New button to create a new product.
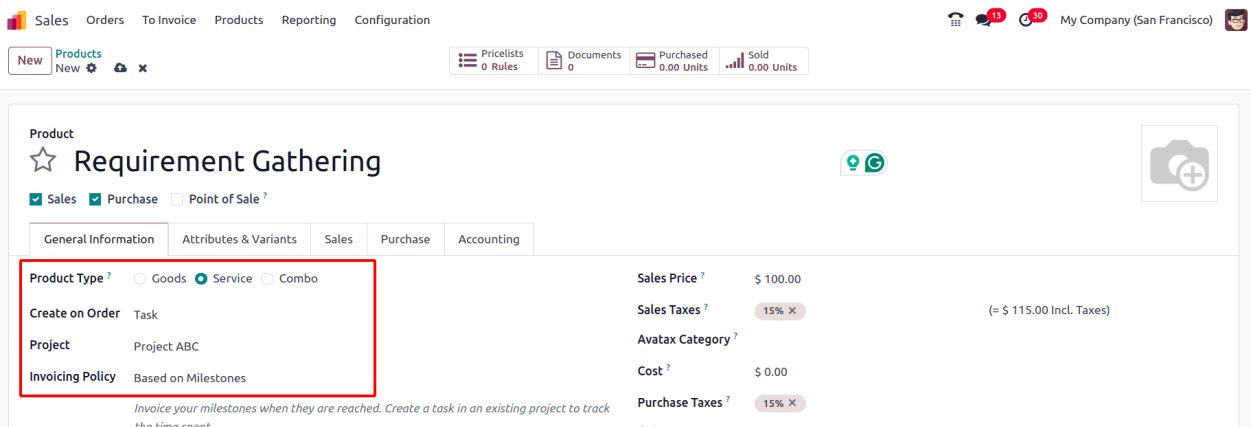
- In the product form, set the Product Type to Service and Create on Order to Task.
This will reveal a new field where you can select a project. When a sales order containing this product is confirmed, a task will be automatically created under the selected project. Choose the newly created project in this field and set the Invoicing Policy to Based on Milestones.
4. Create a Sales Order
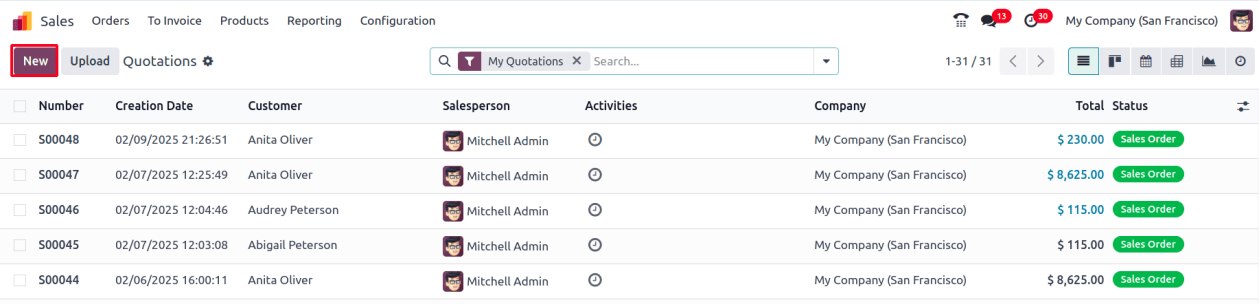
- To create a sales order, navigate to Orders > Quotations and click the New button.
- Enter the customer details and other required fields, then add the previously created product.
- Once the order is confirmed, a task will be automatically generated under the project specified in the Project field of the product form, since the Create on Order option was set to Task.
5. Add and Track Milestones
Upon confirmation, three smart tabs appear: Project, Task, and Milestones.
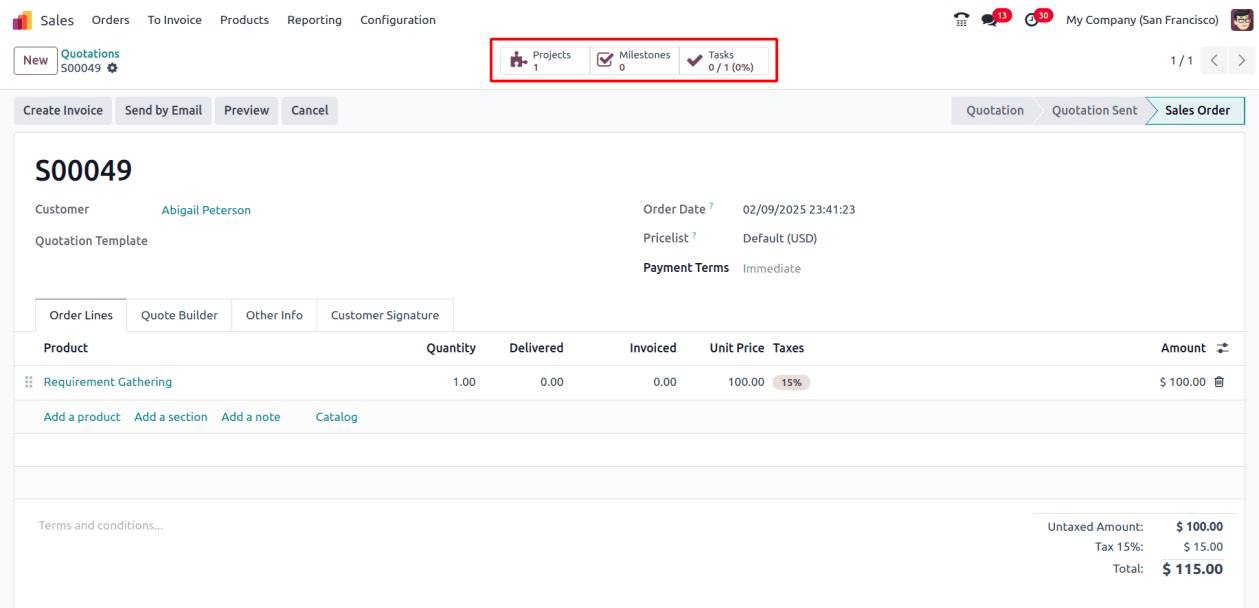
Clicking on the Milestones tab opens a new page where project milestones can be added by clicking the New button.
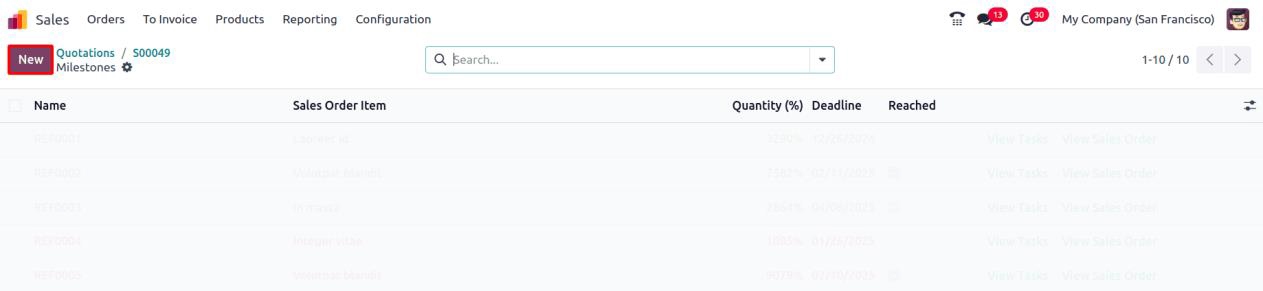
Once the milestones are added, you can set a deadline for each milestone. When a milestone is reached, you can check the Reached box, allowing customers to be billed based on the milestones achieved.
A Quantity (%) can be defined for each milestone, indicating the progress of the task and the portion of the project that can be billed upon the milestone's completion. To add a new milestone, click on New, and for each milestone, set the Quantity (%) to 50.

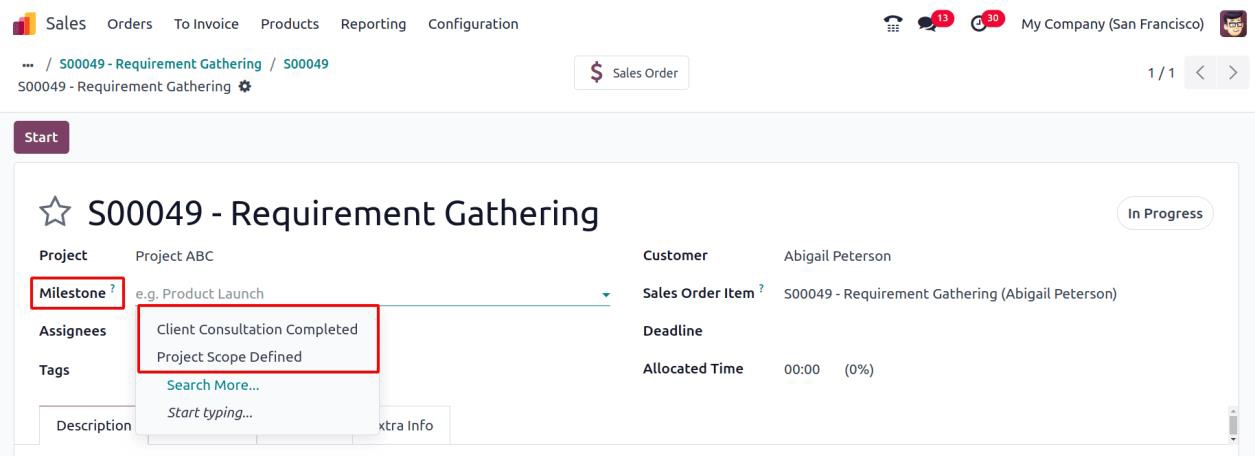
Now, navigate back to the sales order and click on the Task smart tab to view the detailed task view. In the Milestones tab, two milestones will be defined and can be viewed here.

In the task's detailed view, the Milestone field displays the milestones already defined for the project. The desired milestone can be selected to associate with the task. Additionally, the Customer field is populated with the customer's name for whom the sales order was created.
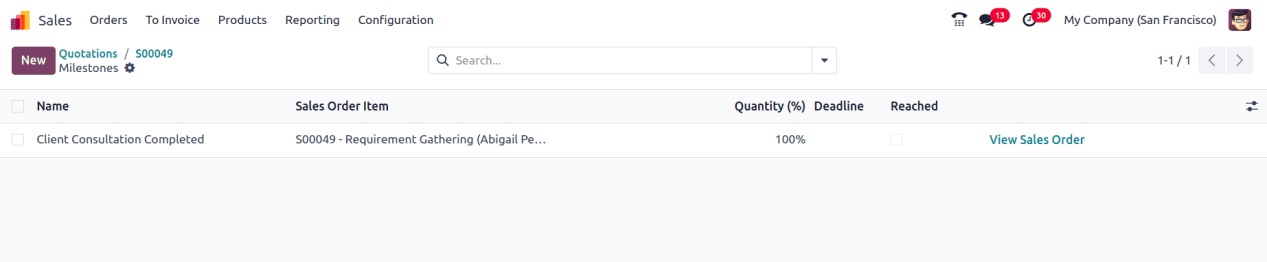
Once the task is completed, the milestone is considered achieved, and the Achieved checkbox can be selected on the milestones page. To do this, navigate back to the sales order, click on the Milestones smart tab, then check the checkbox for the achieved milestone and click Save.

Click on the View Sales Order to go back to the sales order.
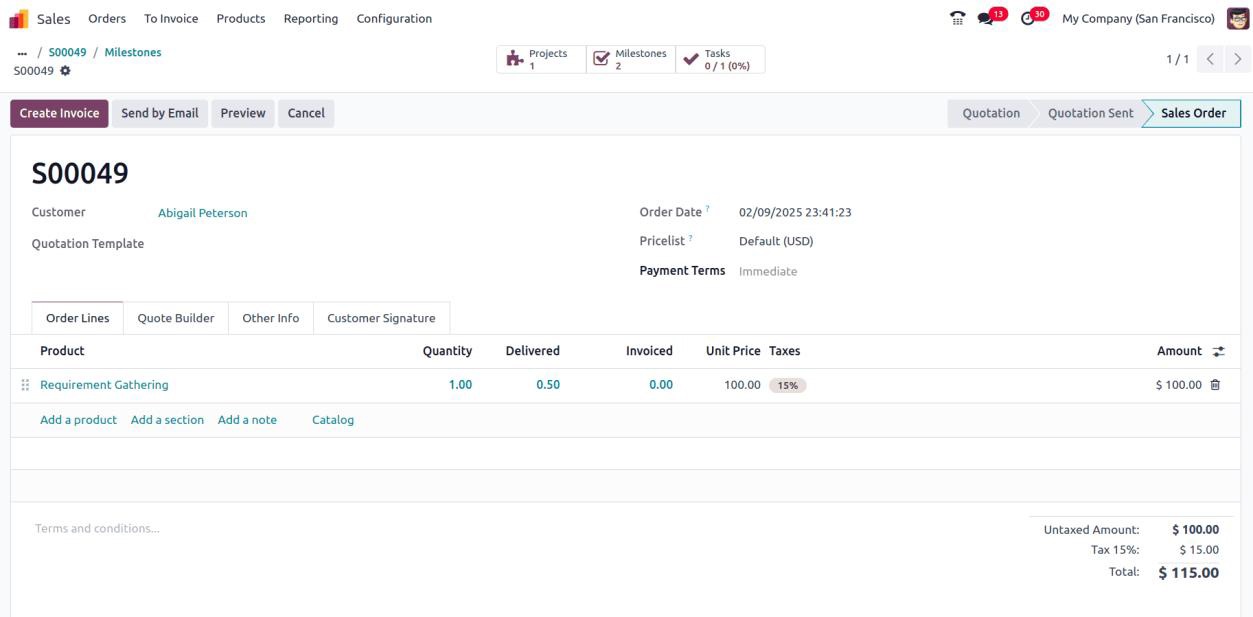
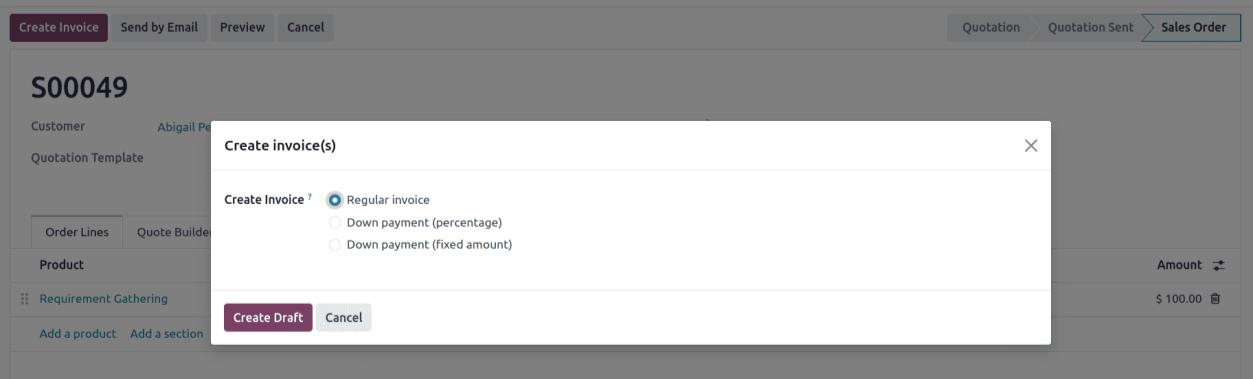
Here, Delivered has been set to 0.5 since the Quantity (%) for that milestone is 50%. When the milestone is reached, 50% of the total quantity for the project has been delivered and is now eligible for invoicing. Click on the Create Invoice button and click on Create Draft.
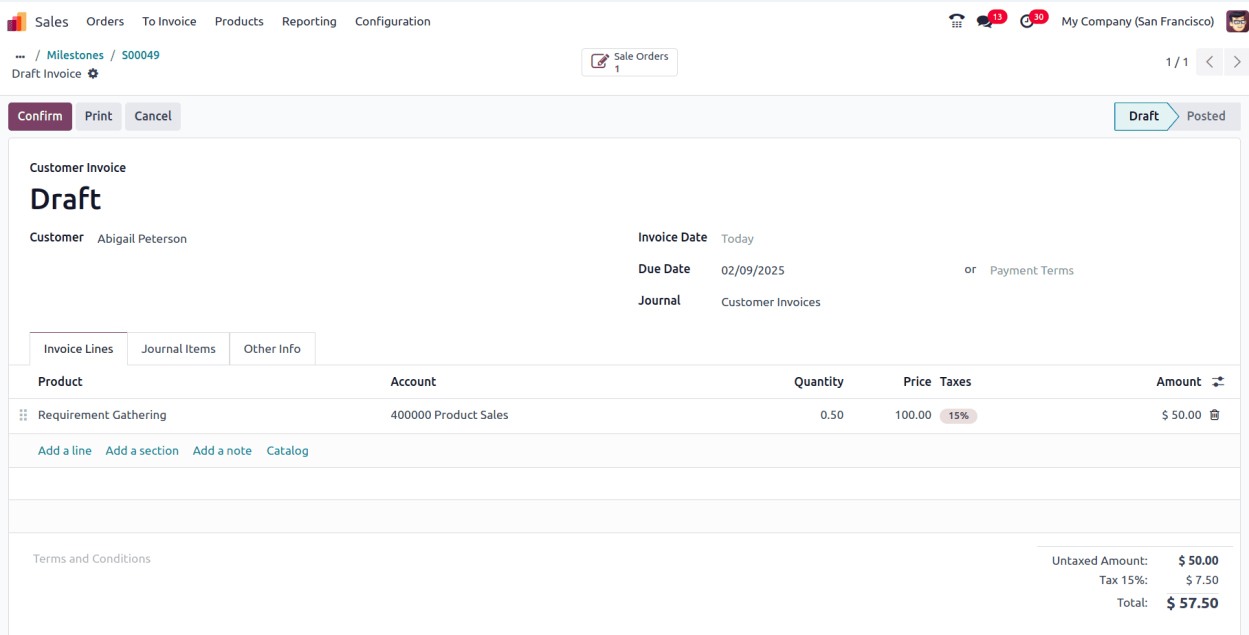
A draft invoice is created for the delivered quantity of the project based on the Milestone achieved.
Wrapping Up
Milestone billing offers a structured approach to invoicing, ensuring that payments are directly tied to the progress of a project. This method helps reduce financial risks and improves cash flow by allowing service providers to receive payments as key project phases are completed. This leads to smoother project execution and stronger client relationships.