| Features |
Description |
| Anomalies Reports |
This feature allows users to generate reports that identify and highlight unusual or unexpected data in payroll processing, such as discrepancies, errors, or outliers. |
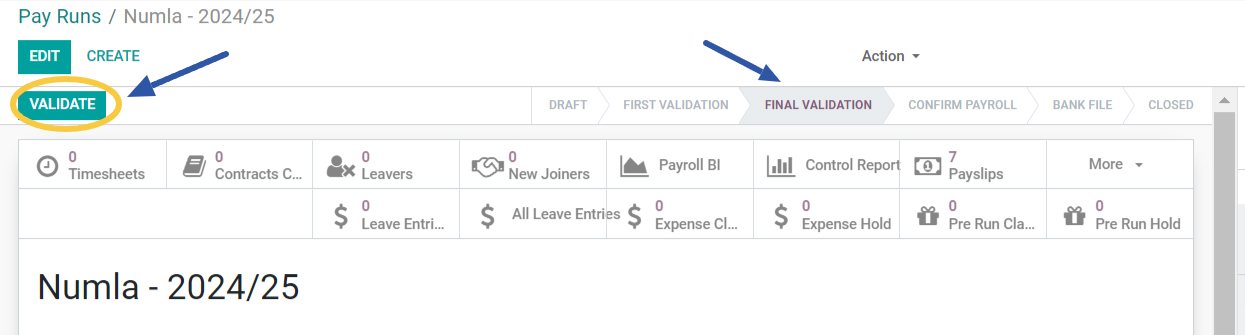
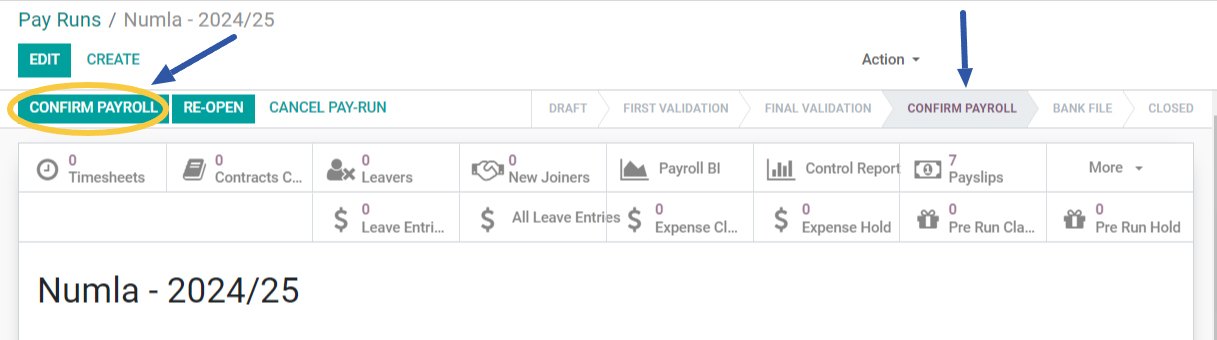
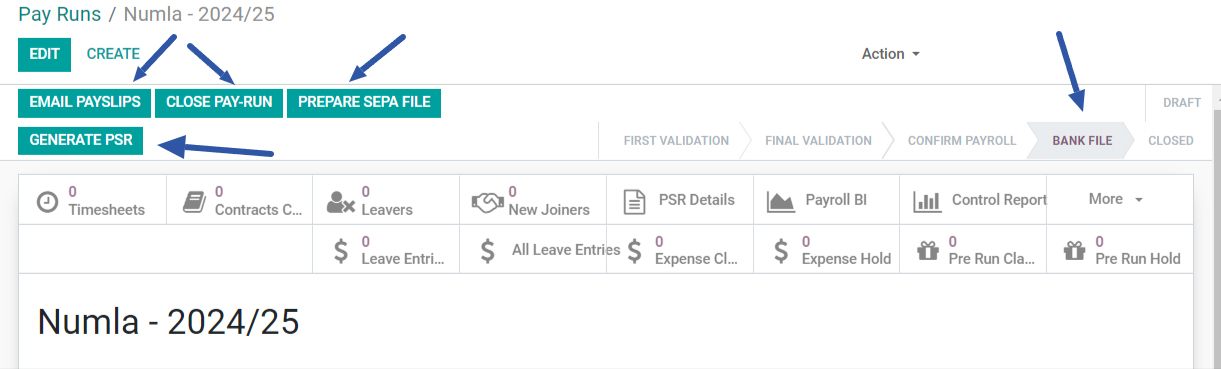
| Bank SEPA File |
After completing a payroll, you can generate a SEPA file to easily pay your employees. |
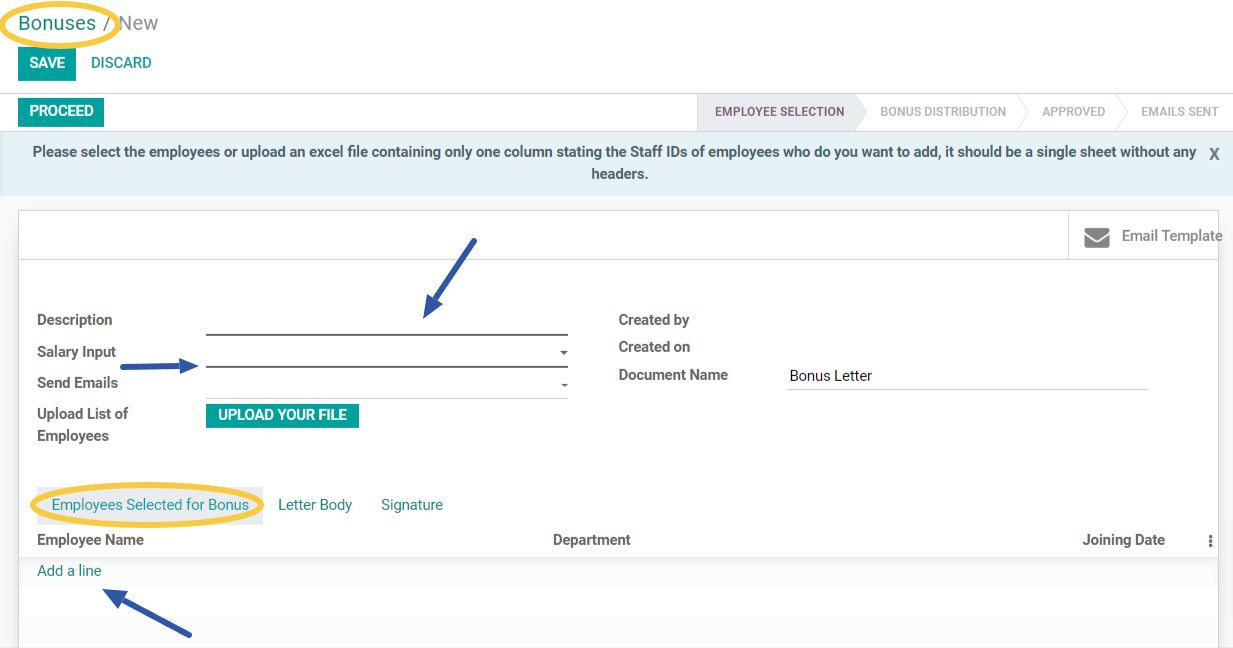
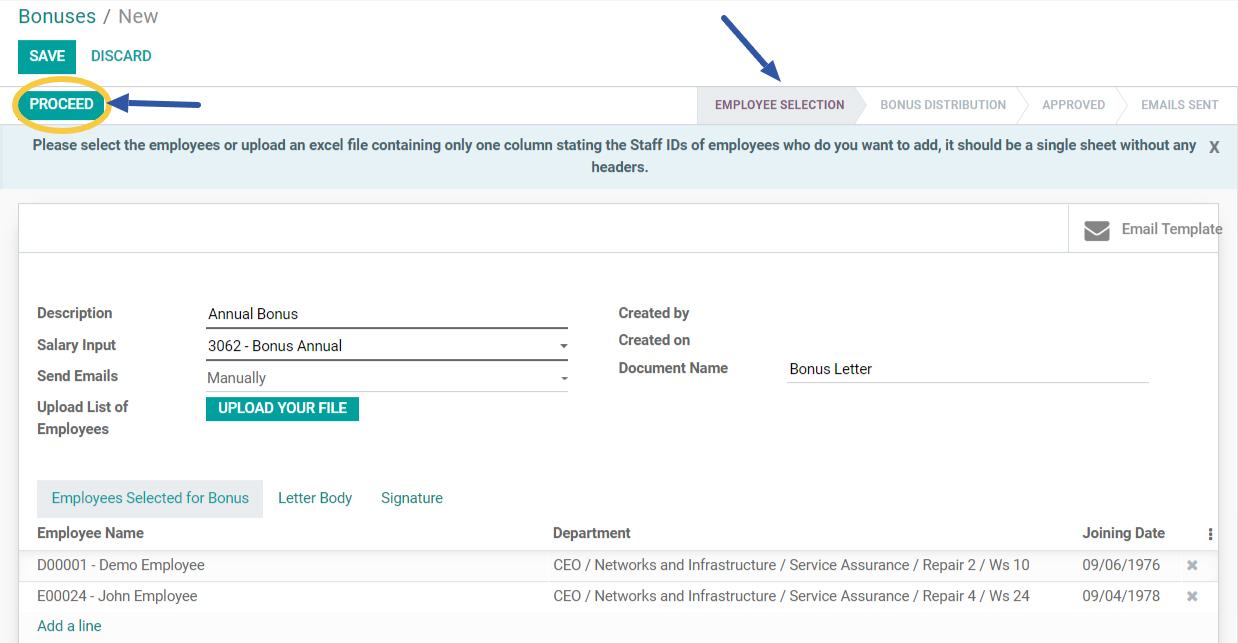
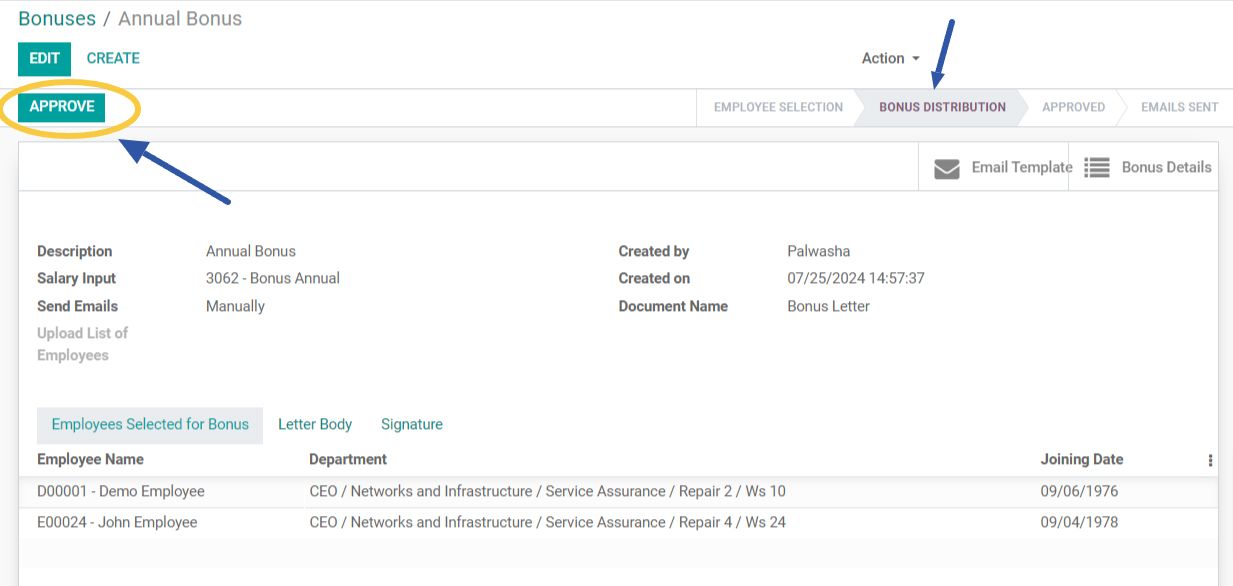
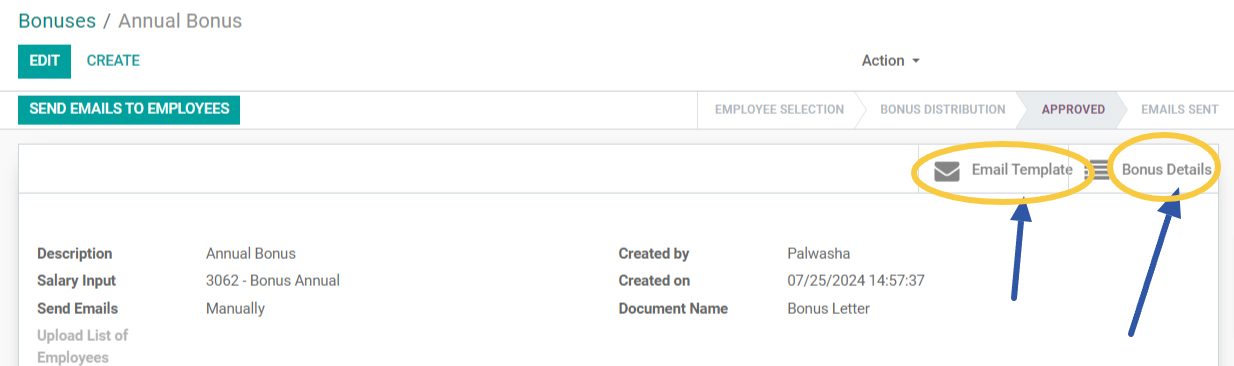
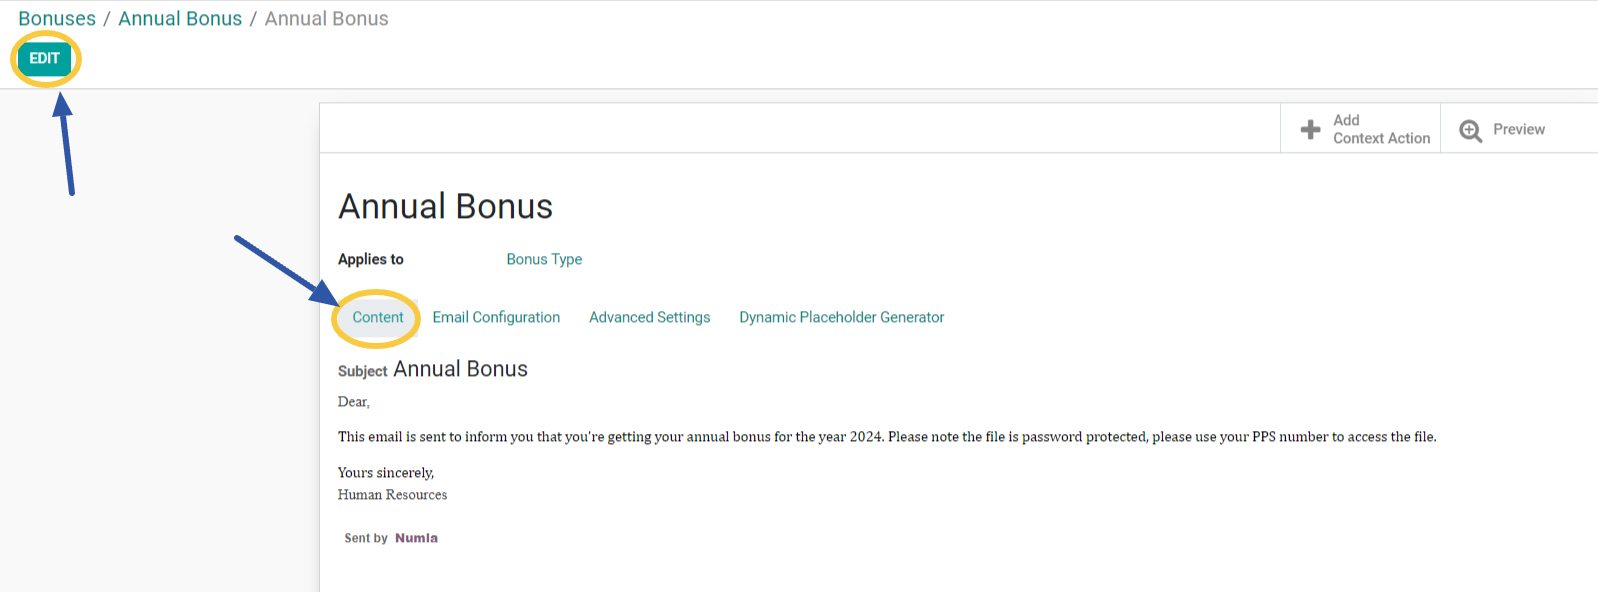
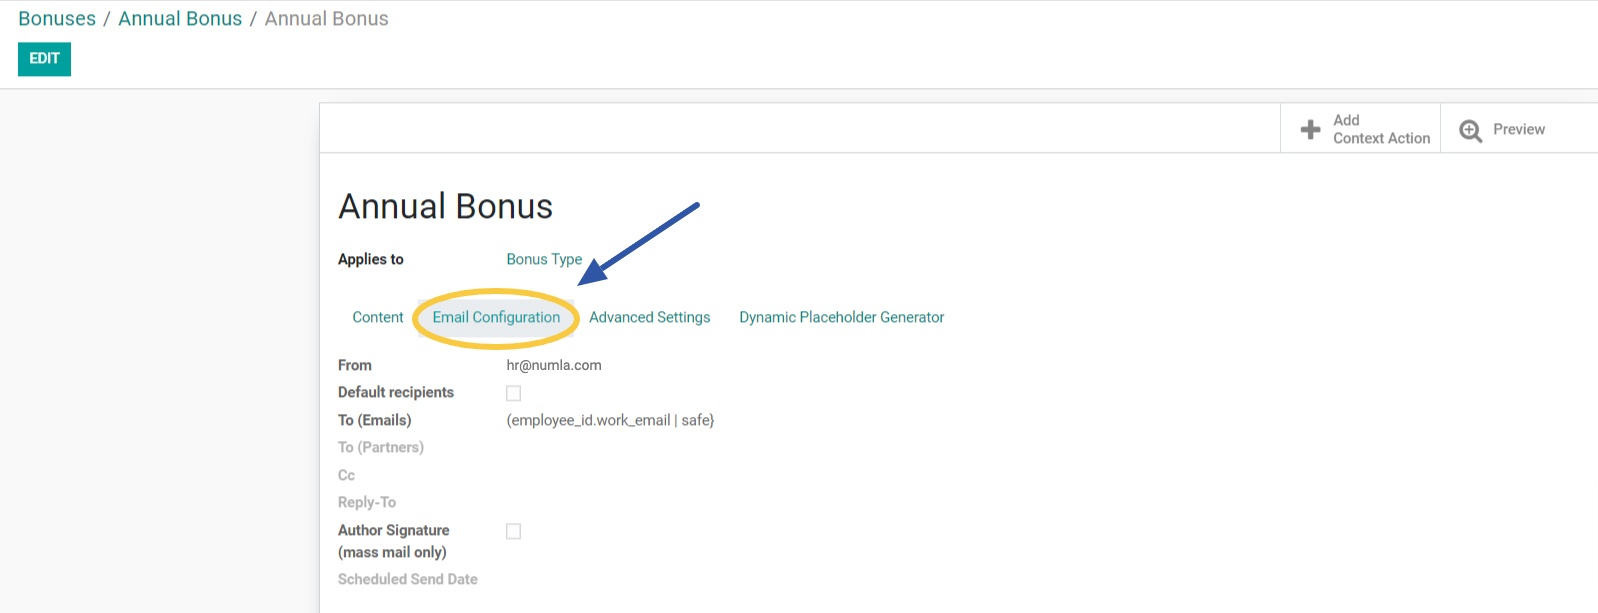
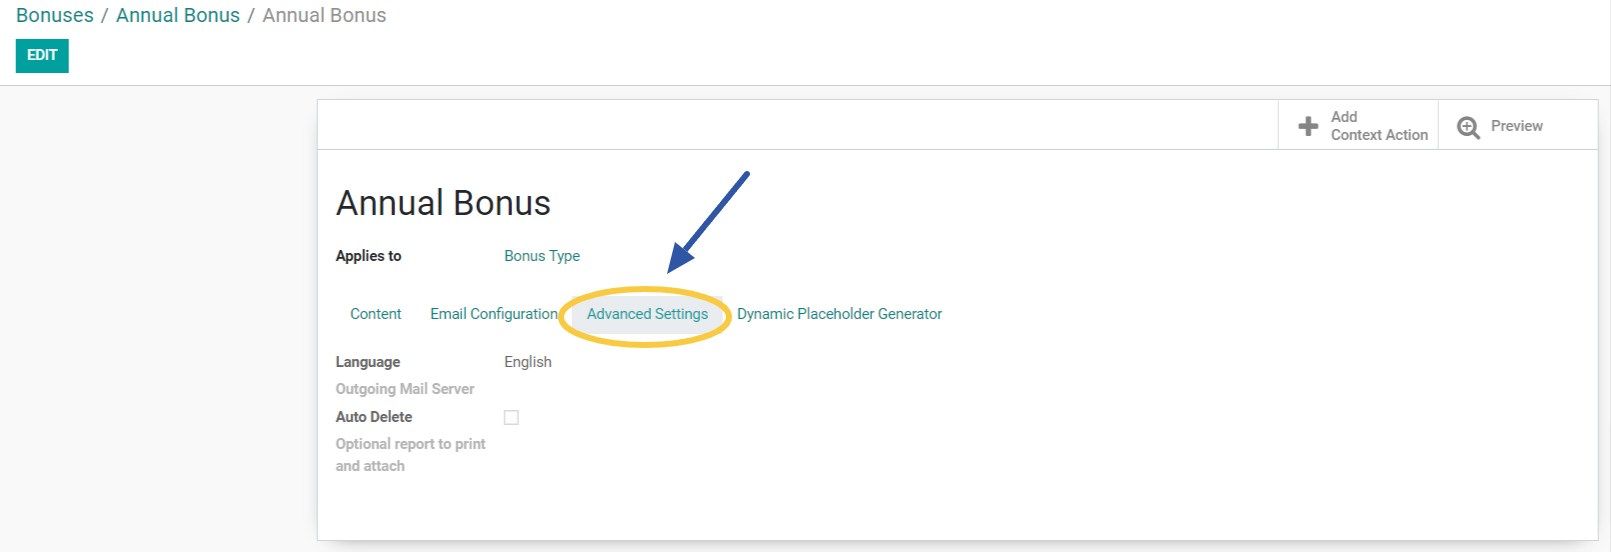
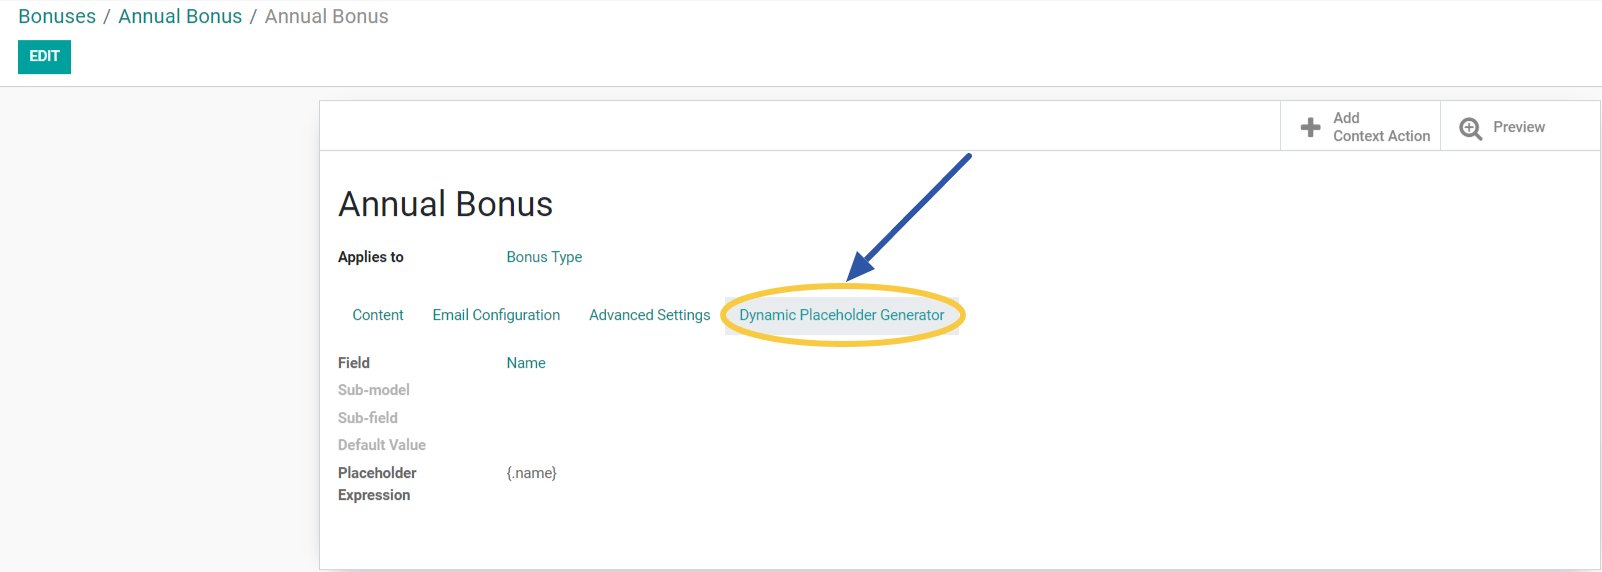
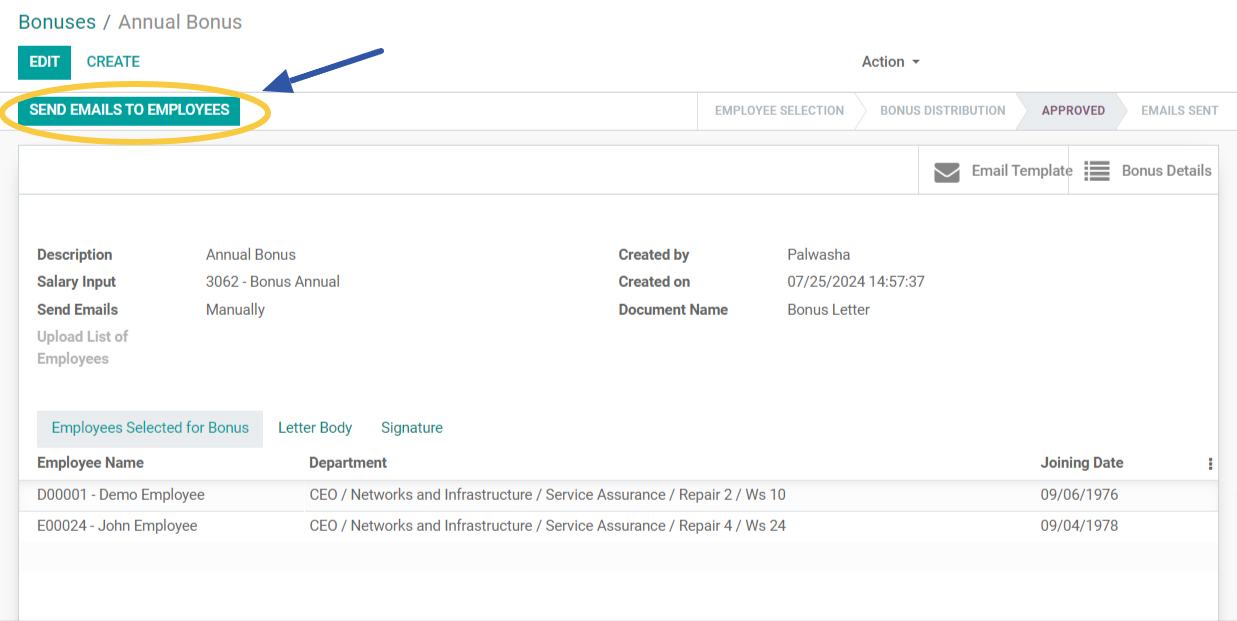
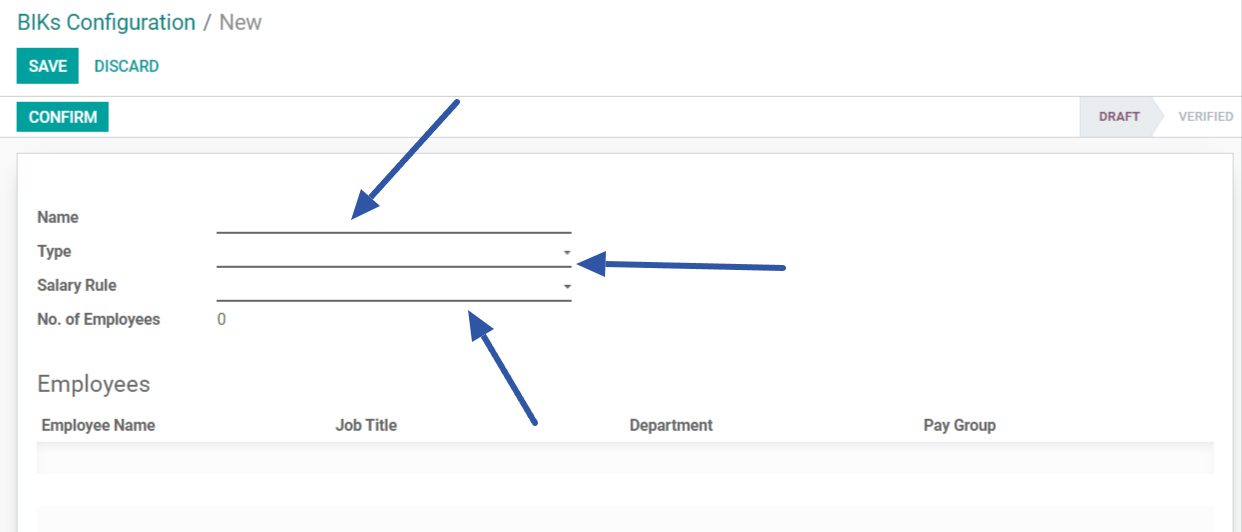
| Bonus Management |
This feature allows users to manage and administer employee bonuses, including setting up bonus structures, calculating amounts, and integrating bonuses into the payroll process. |
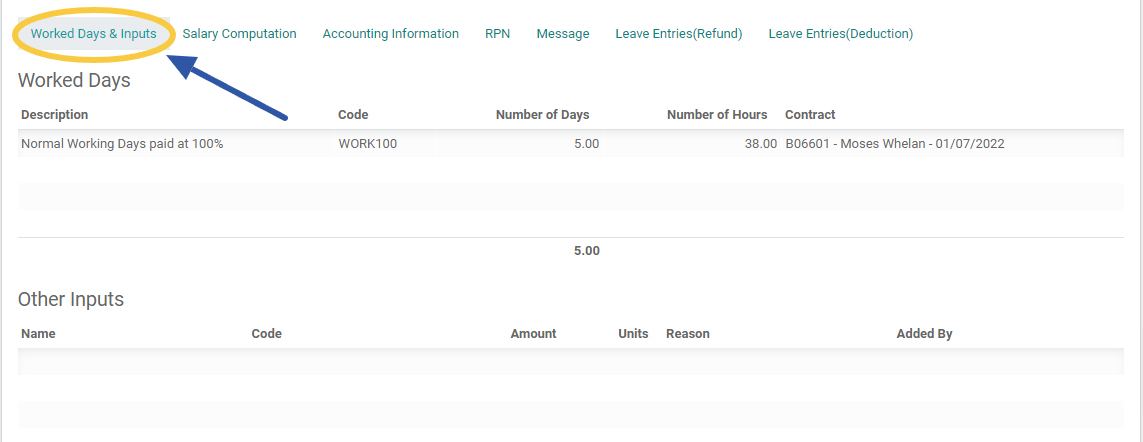
| Fully Integrated with Timesheets and Time Off |
This feature allows seamless interaction between the payroll system, timesheets, and time-off management systems. It ensures that data from timesheets and time-off requests are automatically reflected in payroll calculations, reducing manual data entry and improving accuracy. |
| Integrated by Ross |
To seamlessly transfer data or synchronise processes between systems. |
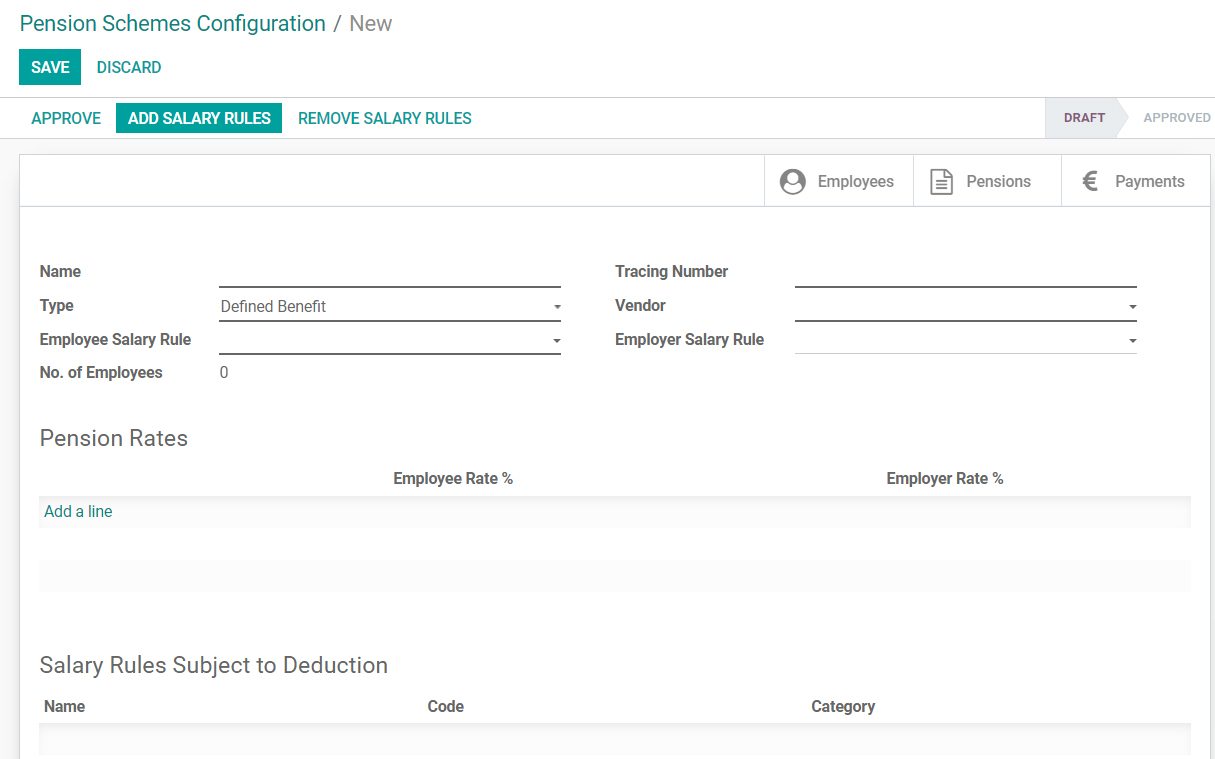
| Manage Loans and Pensions |
This feature allows users to track, administer, and process employee loans and pension contributions, including setting up loan agreements, calculating repayments, and managing pension deductions. |
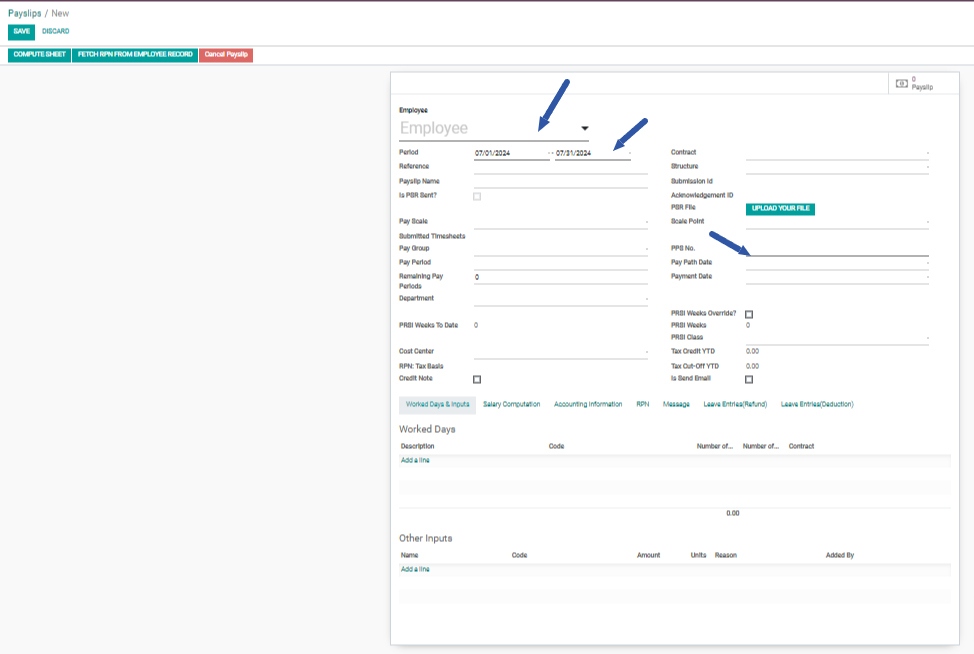
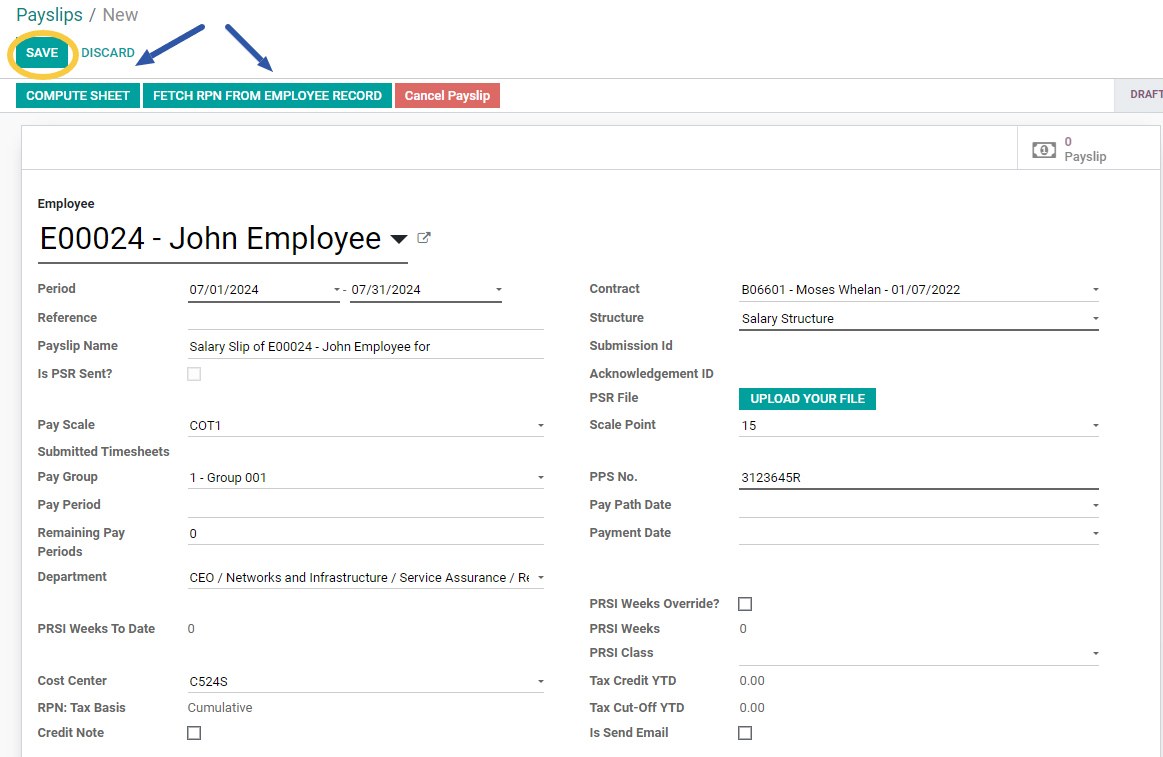
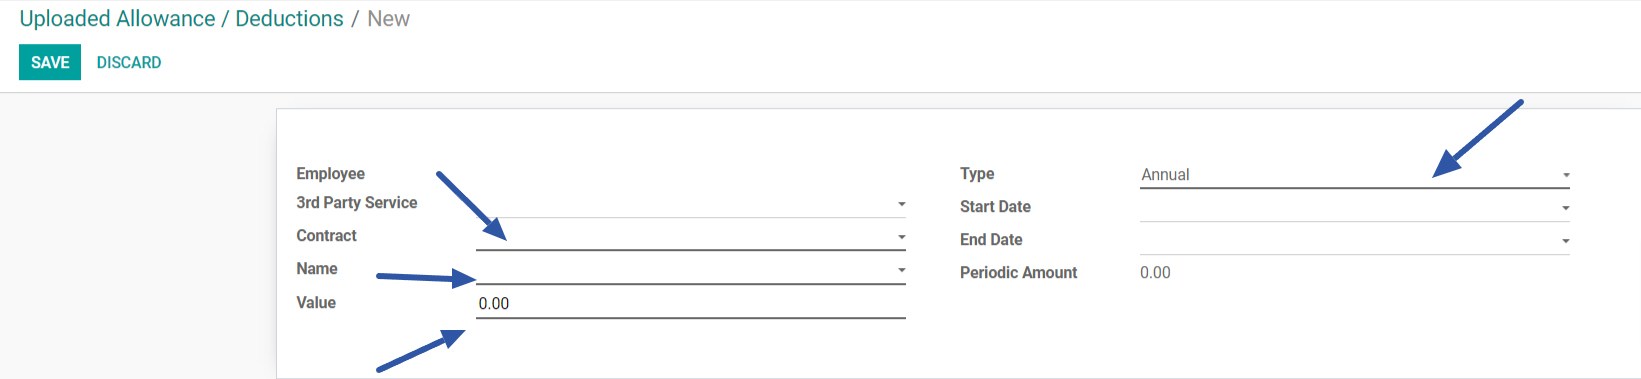
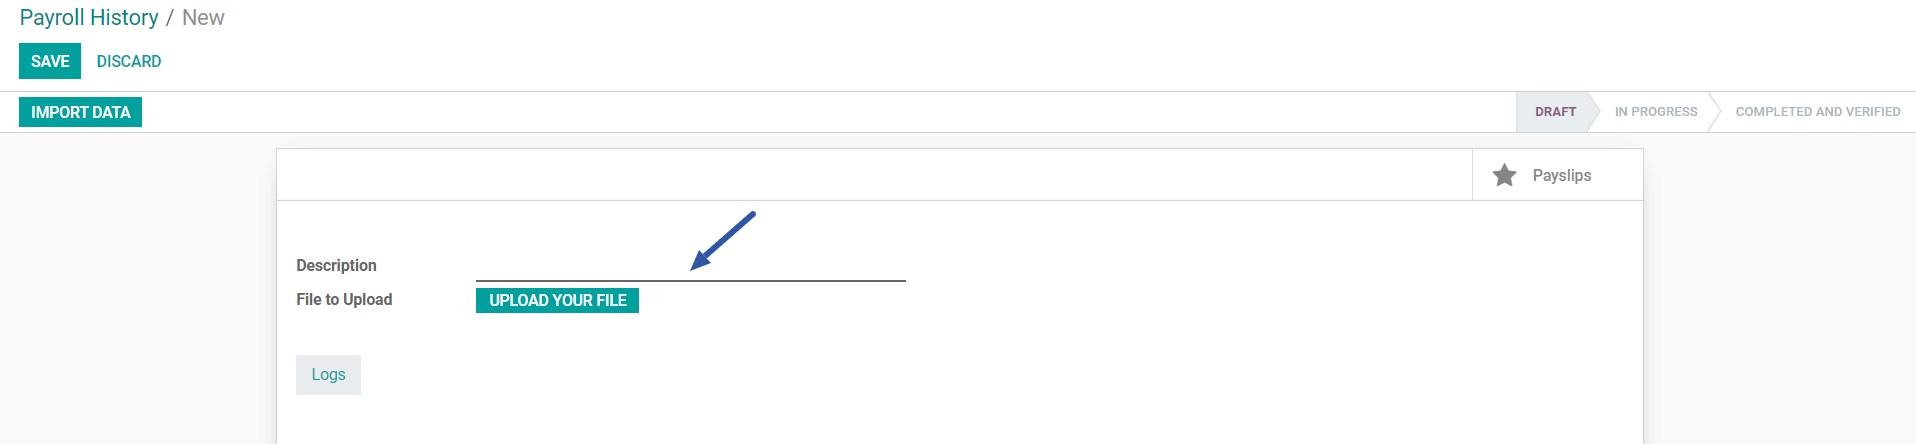
| Manual Input Facility |
This feature allows users to manually enter or adjust data, such as employee information, payroll details, or adjustments, directly into the system. |
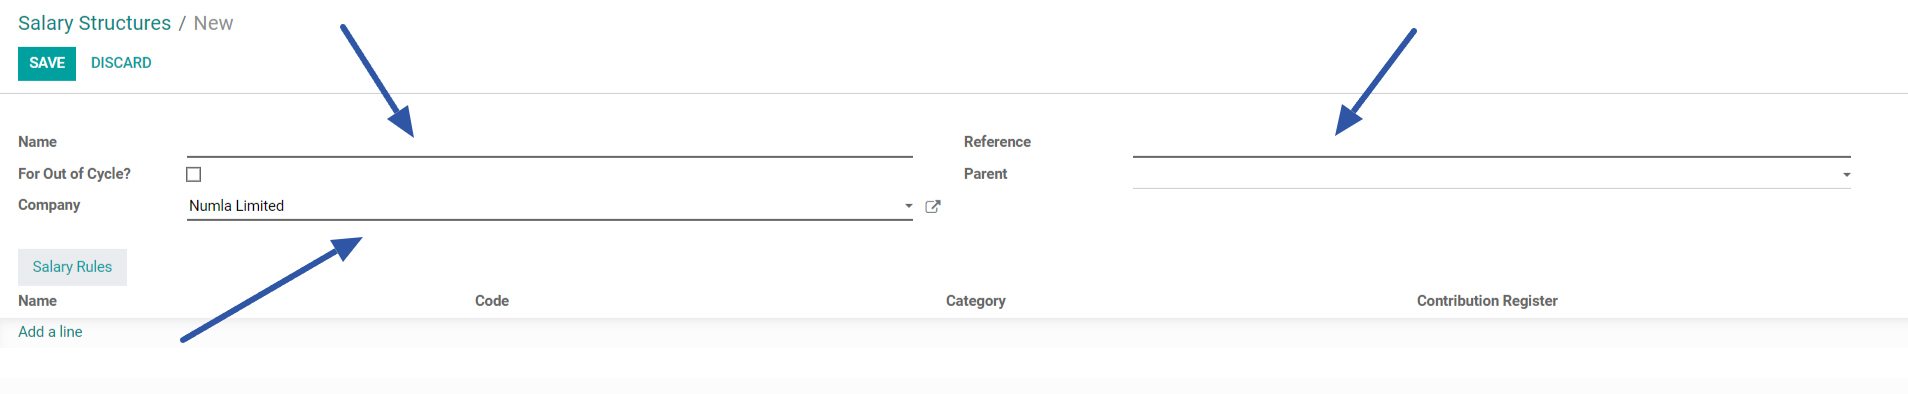
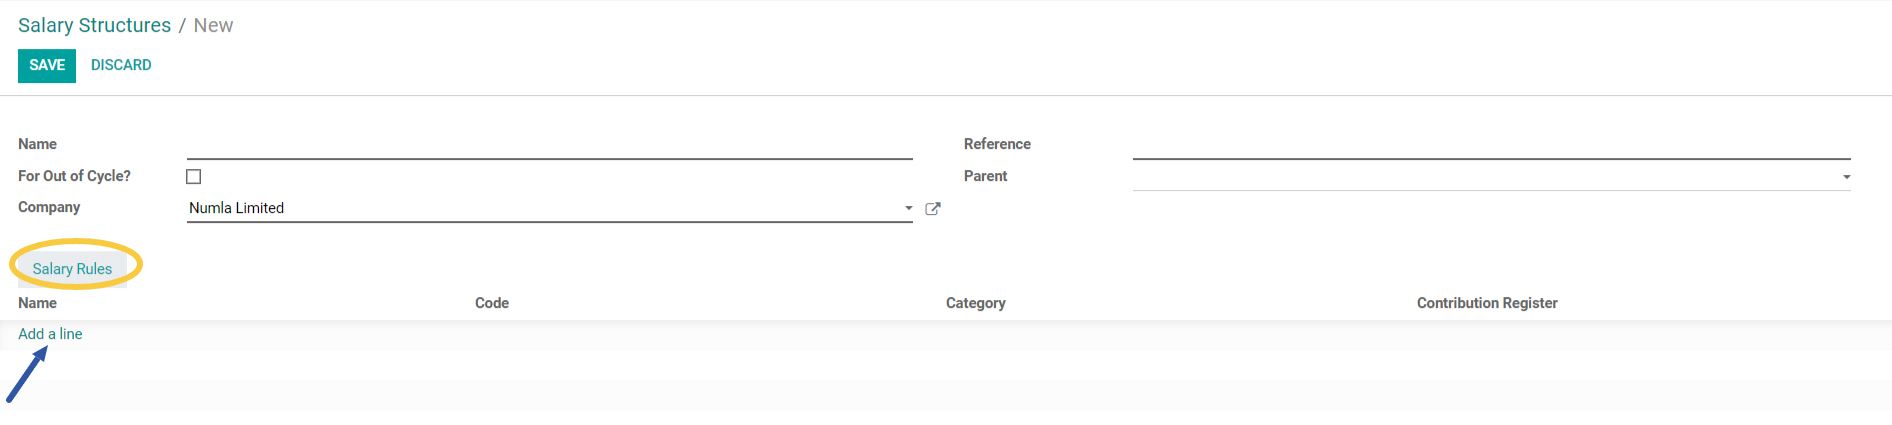
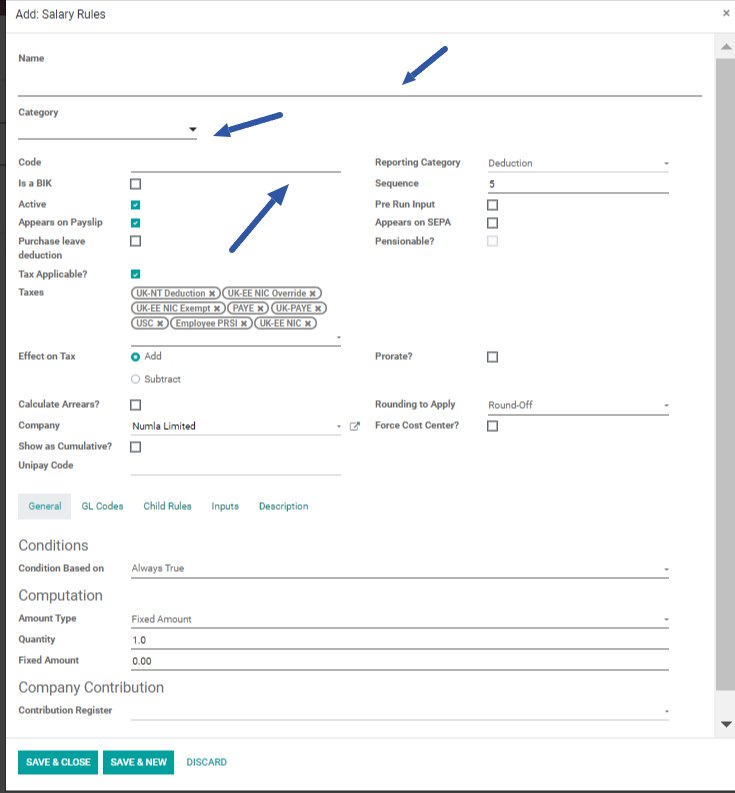
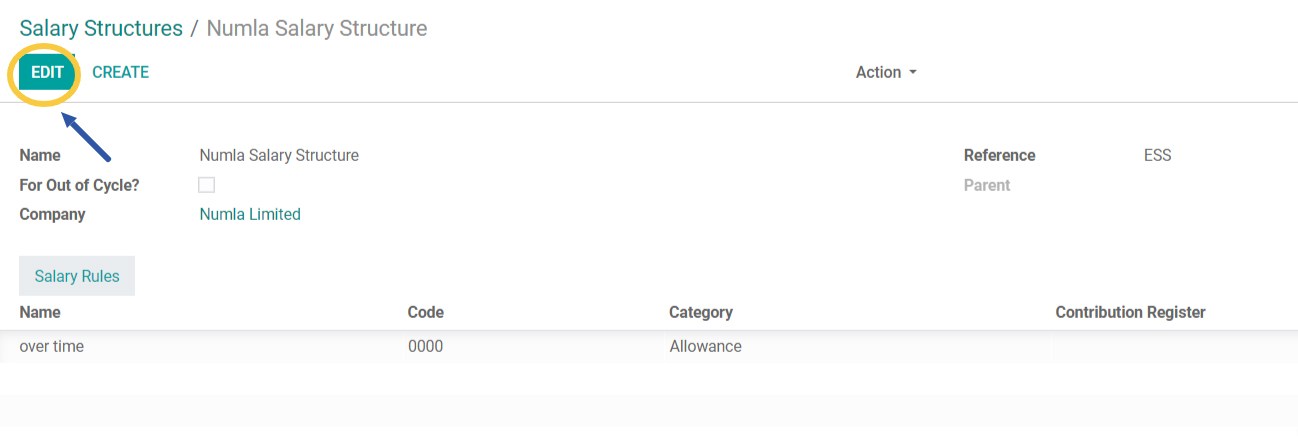
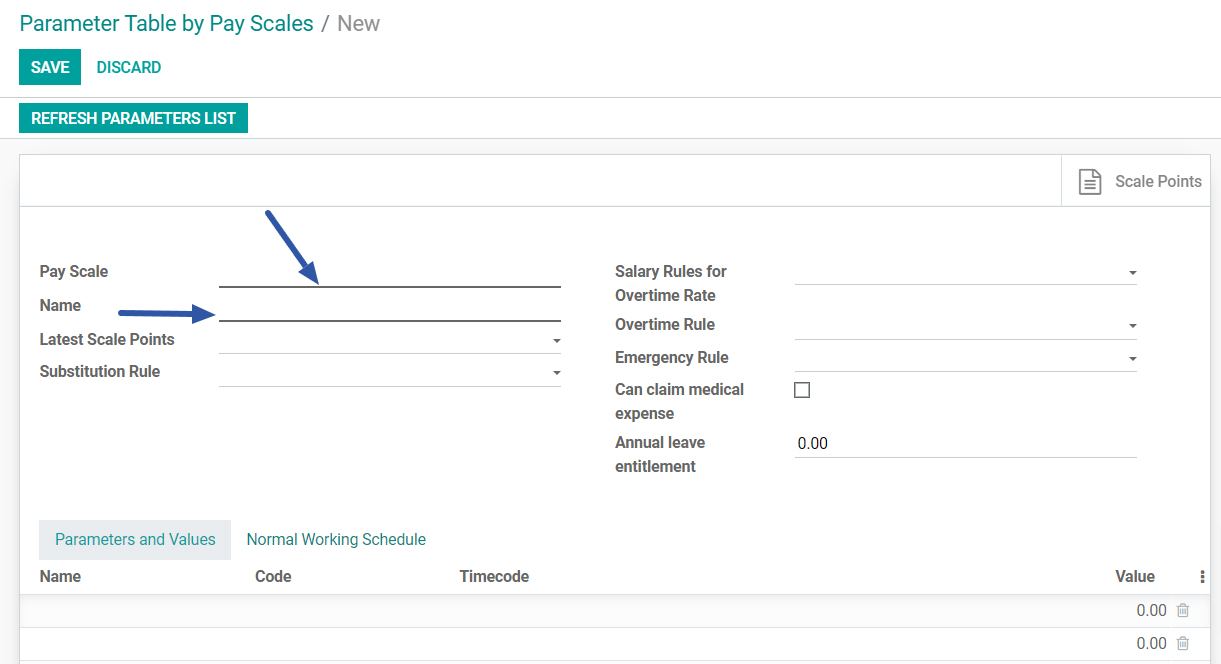
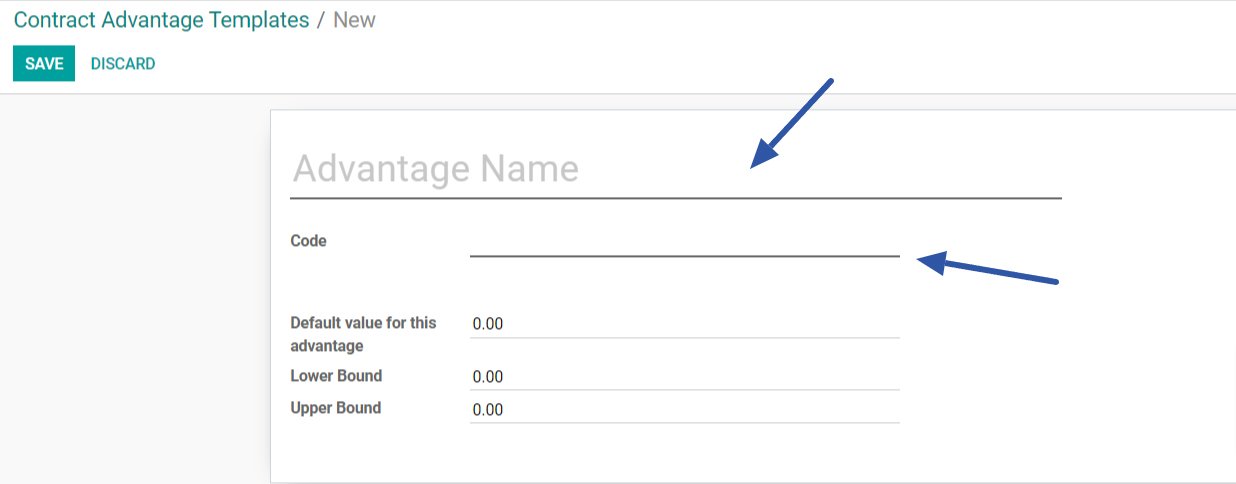
| Multiple Salary Structures |
This feature allows the system to handle and manage different salary structures for various employee groups, departments, or job roles within the organisation. It enables flexibility in payroll management by accommodating various pay scales and compensation plans. |
| Paperless Payslips |
This feature allows employees to receive their payslips electronically rather than in paper form, streamlining the payroll process, reducing administrative overhead, and promoting environmental sustainability. |
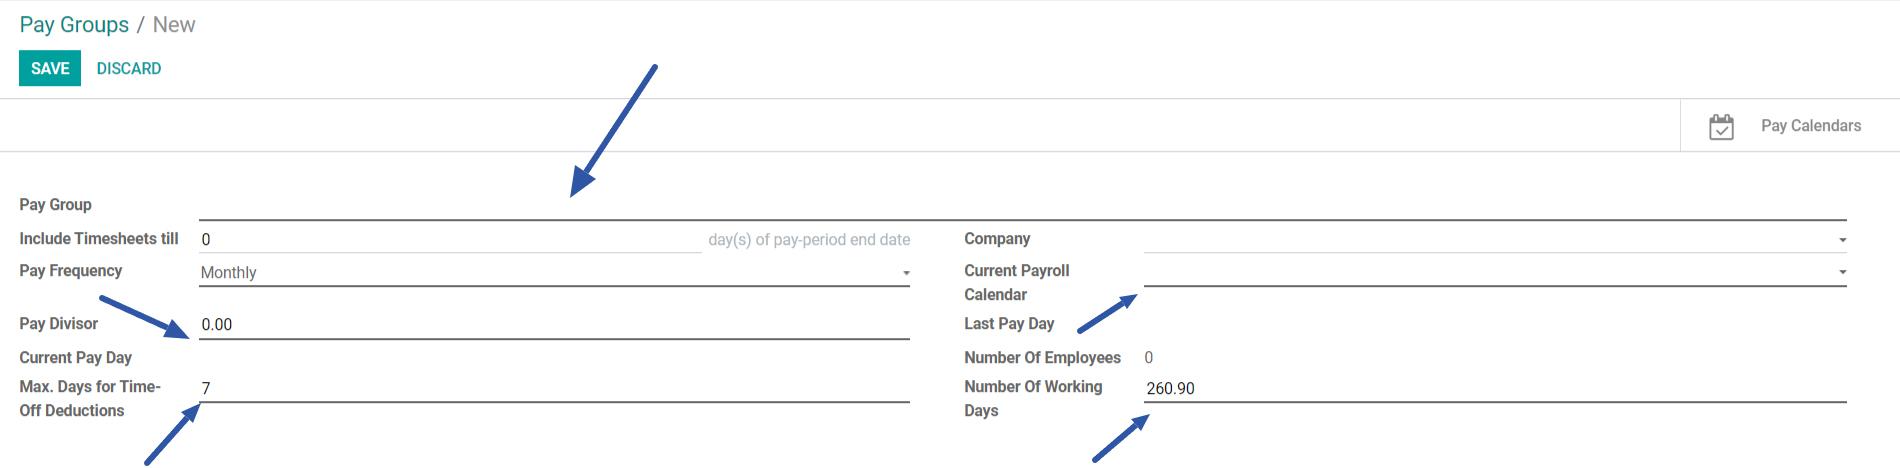
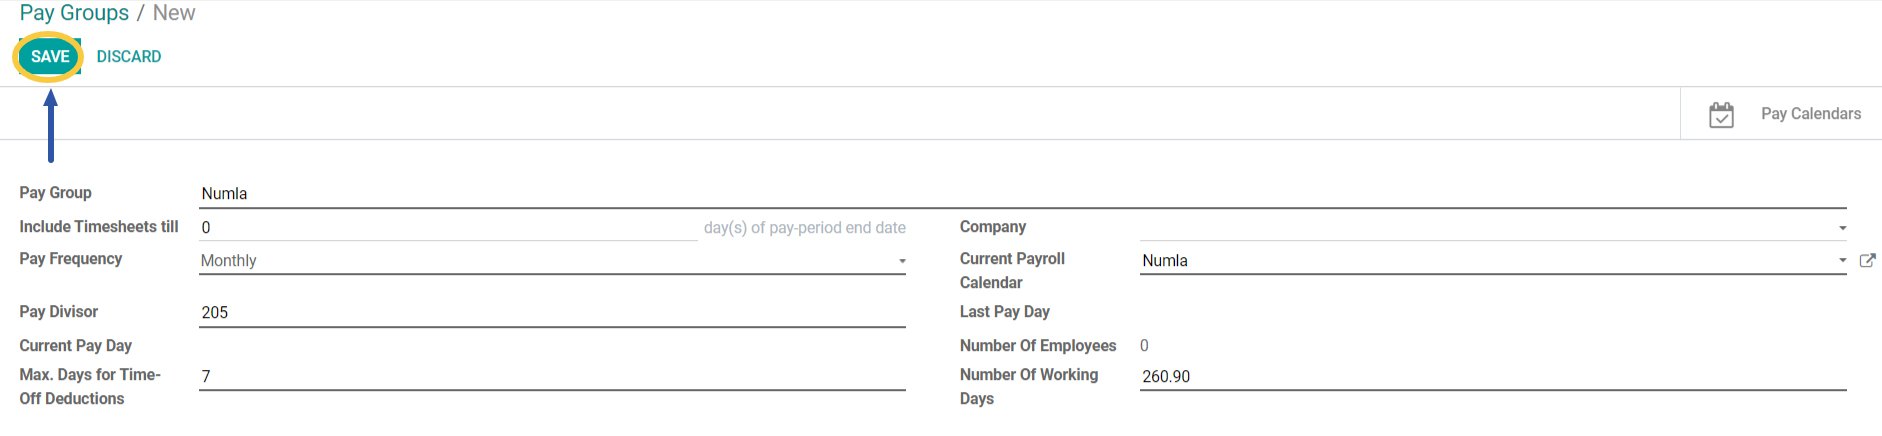
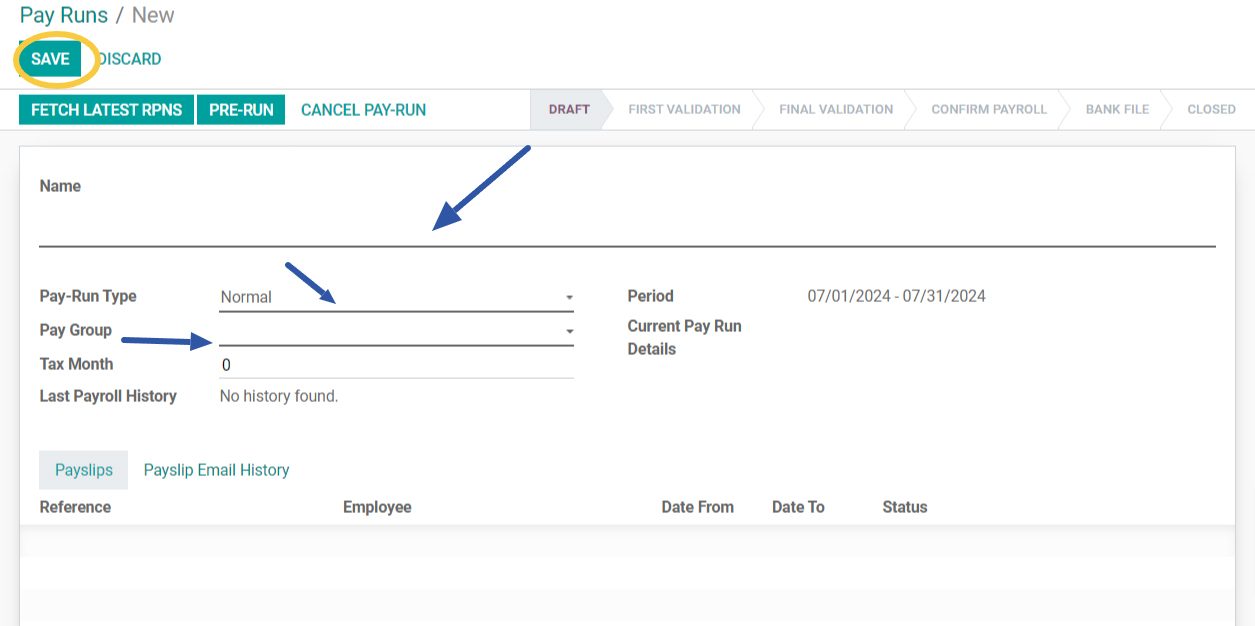
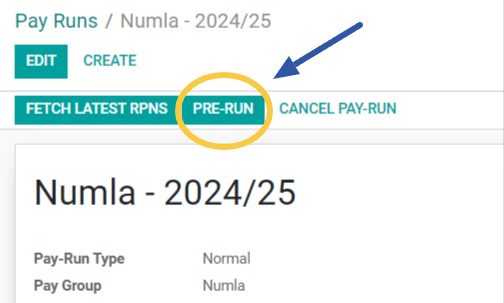
| Paygroups and Payroll Batch |
The ability to define and manage different groups of employees based on criteria like job roles, departments, or locations for the purpose of applying specific payroll rules or processing payroll separately. The ability to process multiple payroll entries or transactions at once, which can include generating payslips, calculating salaries, and applying deductions in bulk. |
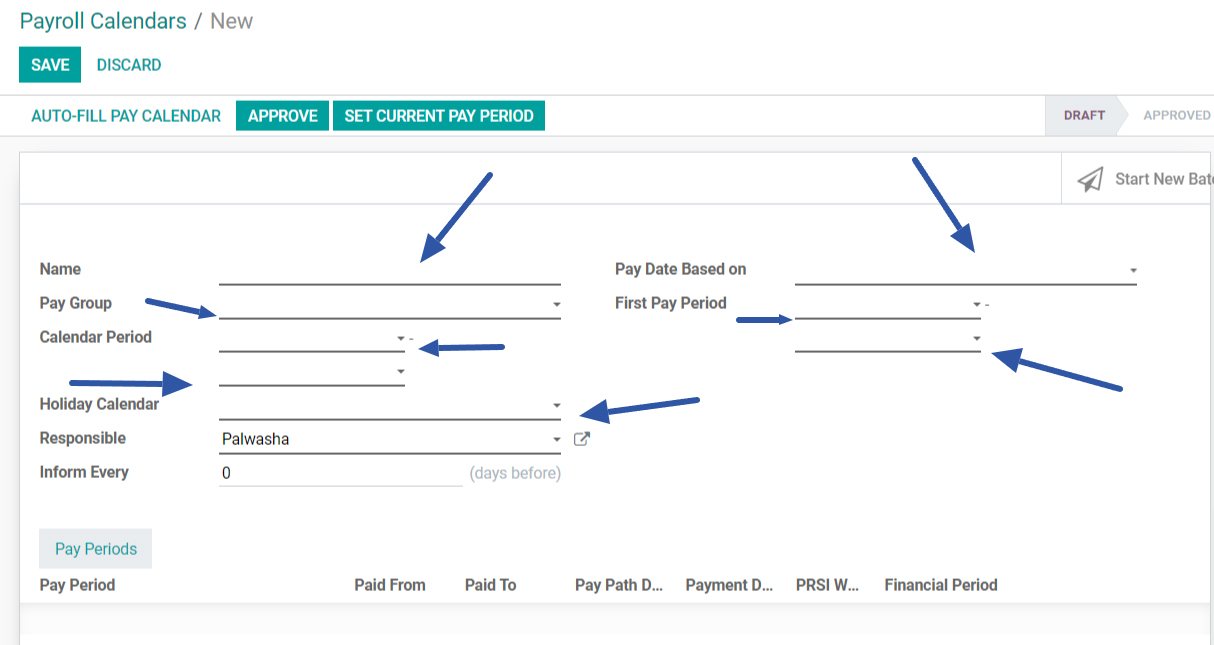
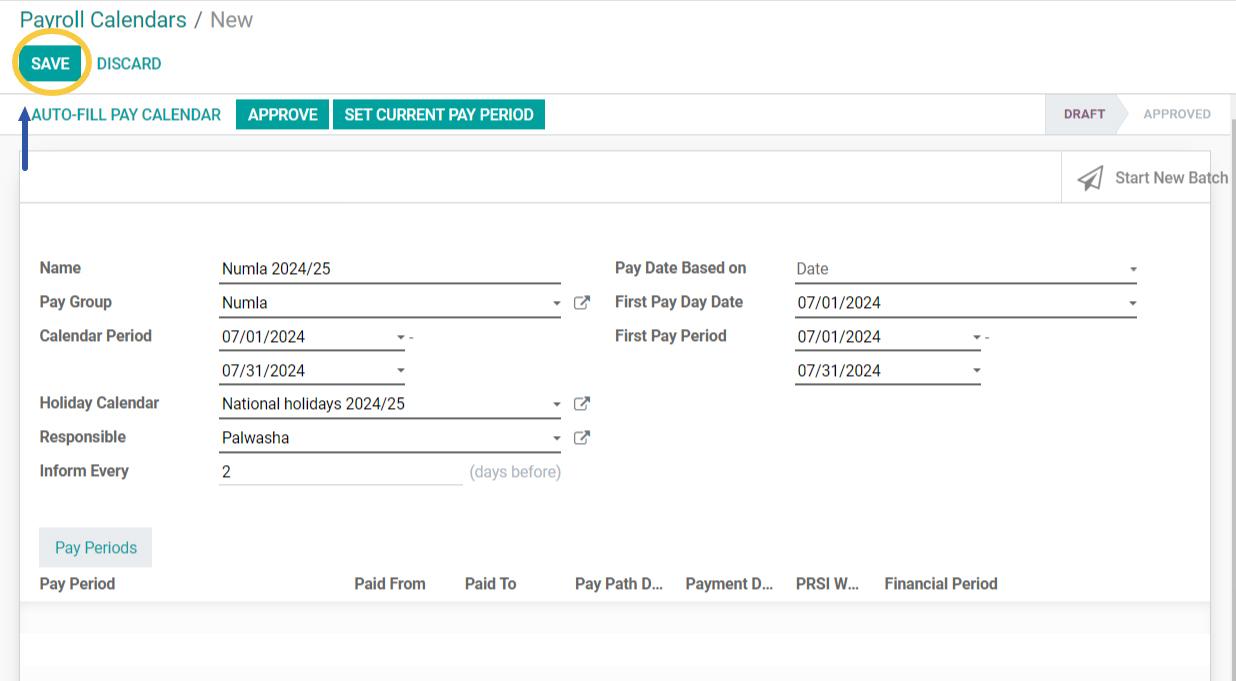
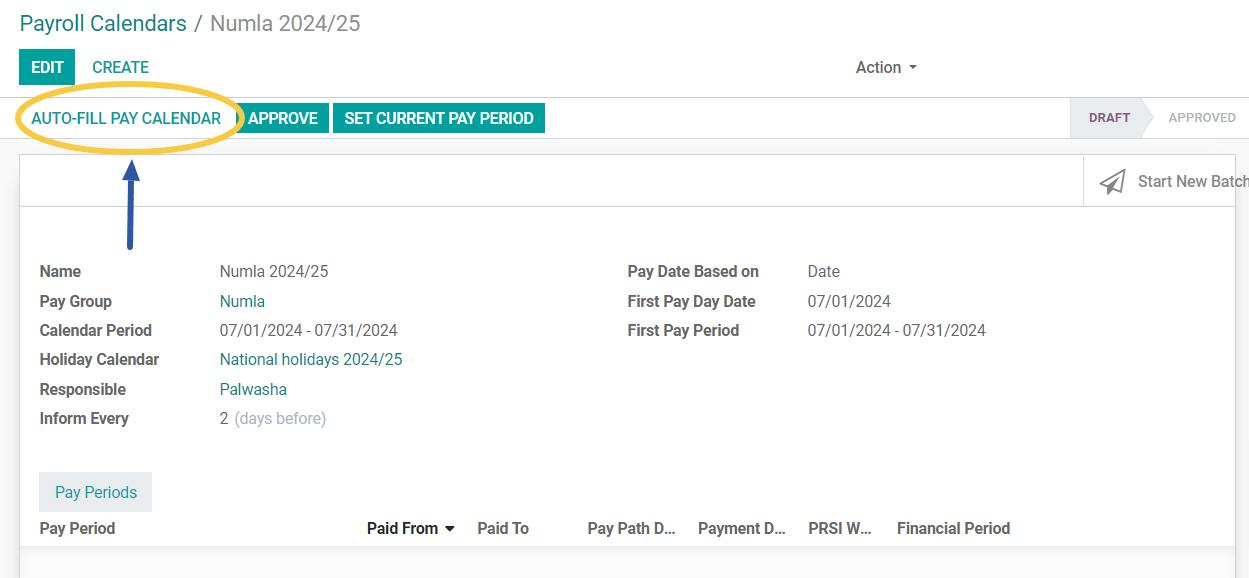
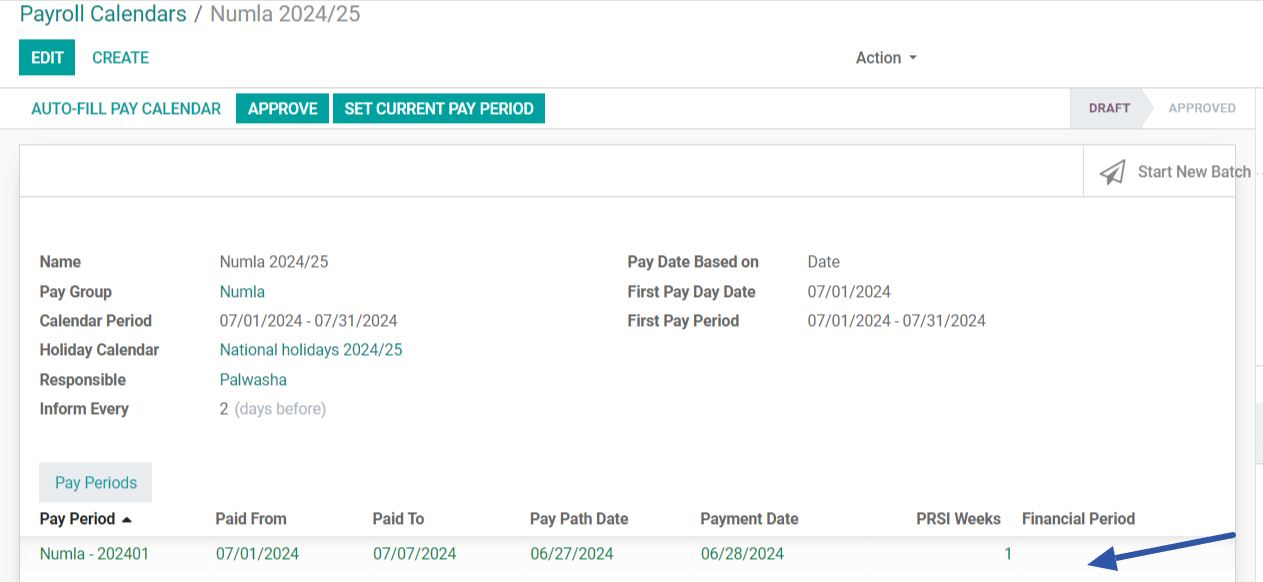
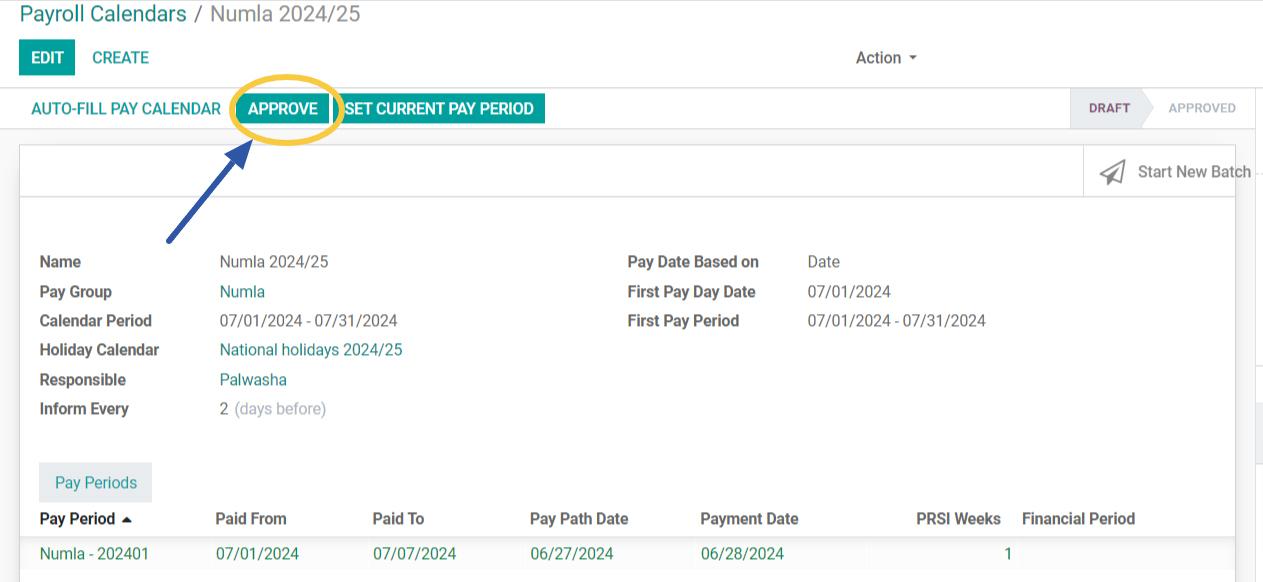
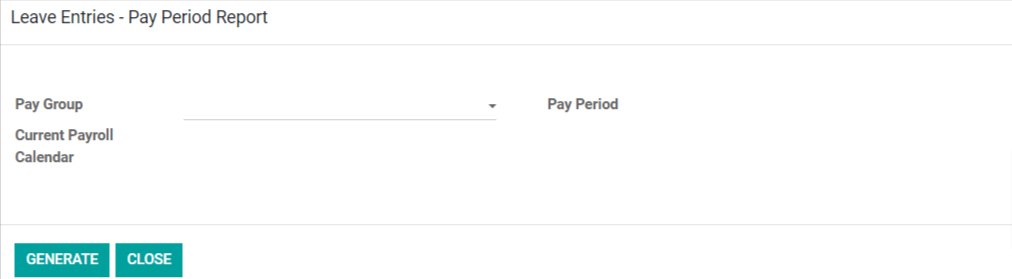
| Payroll Calendar and Pay Periods |
This feature allows you to plan your payroll for the year in advance, like payroll dates, pay dates, etc. This helps you set up reminders for relevant teams about payroll cut-off and on-time execution. |
| 3rd Parties Payments Management |
This feature allows the system to manage payments to third parties, such as tax authorities, benefits providers, or other external entities, as part of the payroll process. |
| Visibility to Contract Amendments |
This feature allows users to view and manage changes made to employee contracts, such as amendments to terms, conditions, or other contractual details. |