What is Odoo Studio?
by Muhammad Kamran Yasin
Odoo Studio is a powerful and user-friendly tool within the Odoo ERP (Enterprise Resource Planning) system that allows users to create and customise applications and modules without needing to write code. It provides a visual interface for designing and modifying various aspects of Odoo applications, making it easier for businesses to adapt the software to their specific needs.
Here are some key features and functionalities of Odoo Studio:
- Workflow Customisation
- Drag-and-Drop Interface
- Field Customisation
- Automated Actions
- Reports modification
Implementing Approval Workflow in Odoo Studio
In this article, we'll look at the implementation of Approval workflow to the Odoo Sales Process.
To initiate the process of adding approval steps to the sales process, we first need to create a new user group to split the approval steps. To create the new group, go to the main settings and create a new group with any name.
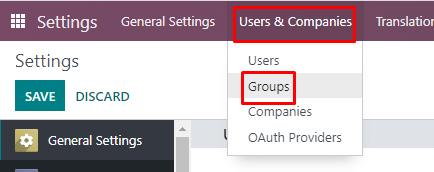
Here we have created a group with the name 'SO Final Approval,' as you can see in the screenshots below. Please ensure that you have activated the developer mode to access the user group menu.
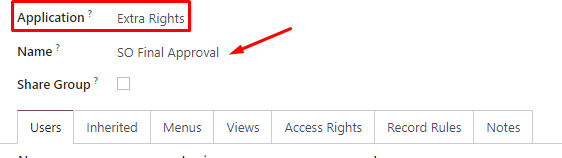
In the screen above, we created a new group within the 'Extra Rights' category and saved the records.
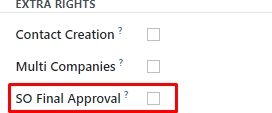
Afterward, open a user profile and you will find the new user group listed under the 'Extra Rights' heading, as shown in the screenshot below.
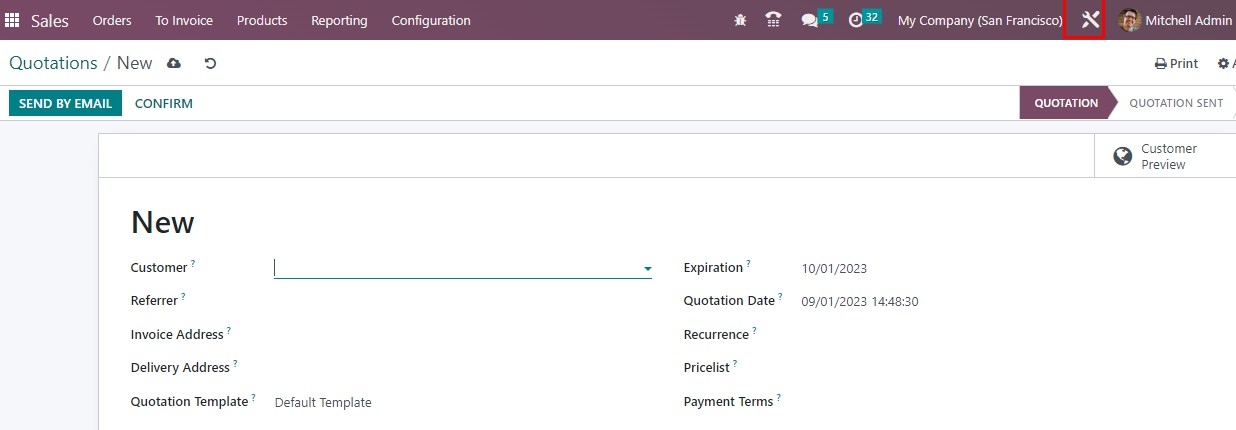
Now, navigate to the Sales application, and click ‘New’ to create a ‘Quotations’ from the Orders menu, and click on the Studio icon, as shown in the screenshot below.
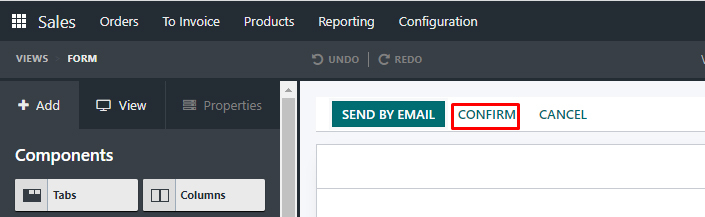
Now click on the ‘Confirm’ button as shown on the below screen.
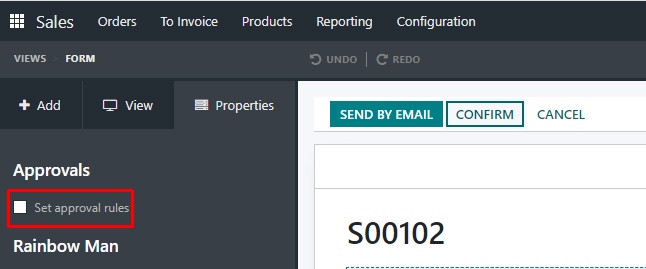
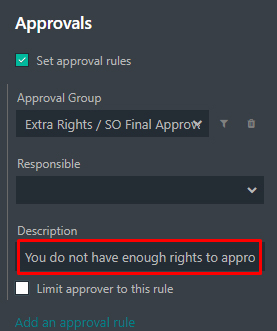
On the left side, you will find an option labeled 'Set approval rules' under the 'Approvals' heading. By clicking the toggle switch, you can activate the approval rule.
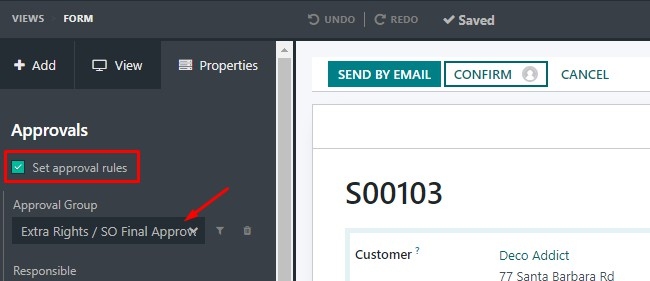
Select the user group from the Approval Group; in this case, we have chosen 'SO Final Approval,' the same group that we created in the user group above.
In the description field, you can enter your warning message. This message will be displayed to users who do not have approval access rights.
The system will automatically save your changes, and you can then close the studio. After closing, your changes will be reflected on the Sales order, and you will also notice a small icon appearing on the Confirm buttons, as shown in the screenshot below.

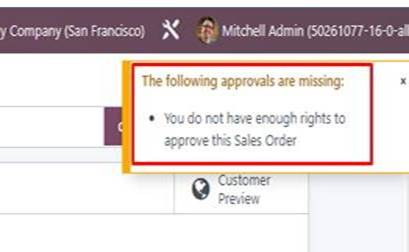
Now, if a user doesn't have approval access rights and clicks on the confirm button, Odoo will display a prompt message as shown in the below screen and the order will not be approved.
Wrap-Up
Odoo Studio empowers businesses to adapt the Odoo ERP system to their unique processes, improving efficiency and productivity. It's particularly useful for organisations that want to customise their software without incurring the costs and time associated with traditional software development.