Odoo 17 Cloud Installation Guide
This guide is based on the install script from André Schenkels (https://github.com/aschenkels/ictstudio/openerp-install-scripts) with further improvements. It also allows you to define an xmlrpc_port in the .conf file generated under /etc/.
This script can be safely used in a multi-Odoo code base server because the default Odoo port is changed before Odoo is started.
Prerequisites
To access the server, you need to install either the PuTTY or WinSCP client. These tools will allow you to access the server using the root login and password received during the Ubuntu installation on the server.
- Download PuTTY: PuTTY Download
- Download WinSCP: WinSCP Download
Step-by-Step Installation Guide
Step 1: Access the Cloud Server
Here, we will learn how to access the cloud server using PuTTY.
Download and Open PuTTY
- Double-click on putty.exe (which you downloaded from the link above) to open the application.
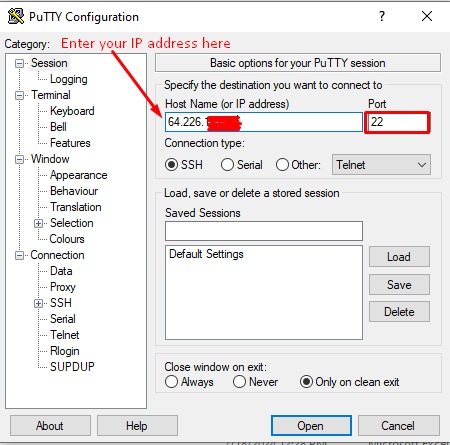
- You will see the PuTTY Configuration screen.
Input Server Details
- Enter your server IP address.
- The port remains as 22.
- Ensure you select the SSH option as the connection type.
After completing these steps, you should be able to access your server.
Click Open to open the command terminal as shown below.
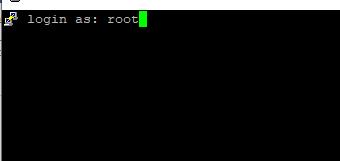
Log In
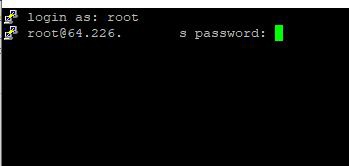
Press Enter and input your root password.
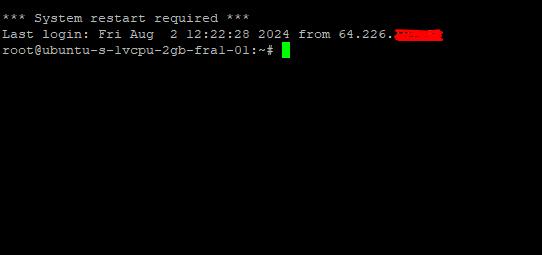
After a successful login, you will see a terminal window.
Connect to Your Server
- In the terminal, type ssh root@yourIP (replace yourIP with your actual server IP address) and press Enter.
- Input your root password when prompted and press Enter again.
- You should now be connected to your server as the root user.

Step 2: Download and Execute the Install Script
Now follow simple steps to install Odoo 17 Community version on your Cloud server.
Download the Script
Copy and paste the following command into the PuTTY terminal and press Enter:
sudo wget https://raw.githubusercontent.com/Yenthe666/InstallScript/16.0/odoo_install.sh
Modify Parameters
Configure the following parameters as needed:
- OE_USER: Username for the system user.
- GENERATE_RANDOM_PASSWORD: Set to True to generate a random password; False to set a custom password.
- INSTALL_WKHTMLTOPDF: Set to True to install Wkhtmltopdf.
- OE_PORT: Port where Odoo should run (e.g., 8069).
- OE_VERSION: Odoo version to install (e.g., 16.0 for Odoo V16).
- IS_ENTERPRISE: Set to True for the Enterprise version, and False for the Community version.
- OE_SUPERADMIN: Master password for this Odoo installation.
- INSTALL_NGINX: Set to True to install Nginx.
- WEBSITE_NAME: Set the website name for Nginx configuration.
- ENABLE_SSL: Set to True to install Certbot and configure Nginx with HTTPS.
You can keep the default configuration if you have any confusion.
Make the Script Executable
Copy and paste the following command into the PuTTY terminal and press Enter:
sudo chmod +x odoo_install.sh
Execute the Script
Copy and paste the following command into the PuTTY terminal and press Enter:
sudo ./odoo_install.sh
Note: The system will prompt you several times to download specific libraries. Follow the on-screen prompts, typing y or yes and pressing Enter to download specific libraries.
Step 3: Complete Installation
After a successful installation, you will receive the following details:
- Port: 8069
- User service: odoo
- Configuration file location: /etc/odoo-server.conf
- Logfile location: /var/log/odoo
- User PostgreSQL: odoo
- Code location: odoo
- Addons folder: odoo/odoo-server/addons/
- Super admin password: (auto-generated or set by you)
Managing Your Odoo Installation
- Start Odoo service: sudo service odoo-server start
- Stop Odoo service: sudo service odoo-server stop
Creating Your First Odoo Database
To create your first Odoo V-17 community database, follow these steps:
Open a Web Browser
Open your preferred web browser.
Enter the IP Address and Port
- Type your IP address along with port 8069 in the address bar (e.g., 64.128.xx.xx:8069/web).
- Press Enter.
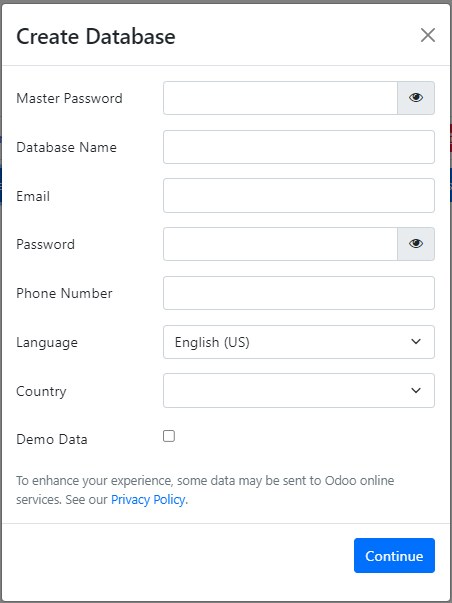
Create the Database
- You will be directed to the Odoo database creation page.
- Enter your super admin password to create, delete, or duplicate the database.
- You should now be able to create and manage your Odoo databases.
Conclusion
By following this guide, you can install Odoo 17 on a cloud server without needing advanced development knowledge. This process ensures that your Odoo installation is up and running smoothly, allowing you to leverage its powerful features.